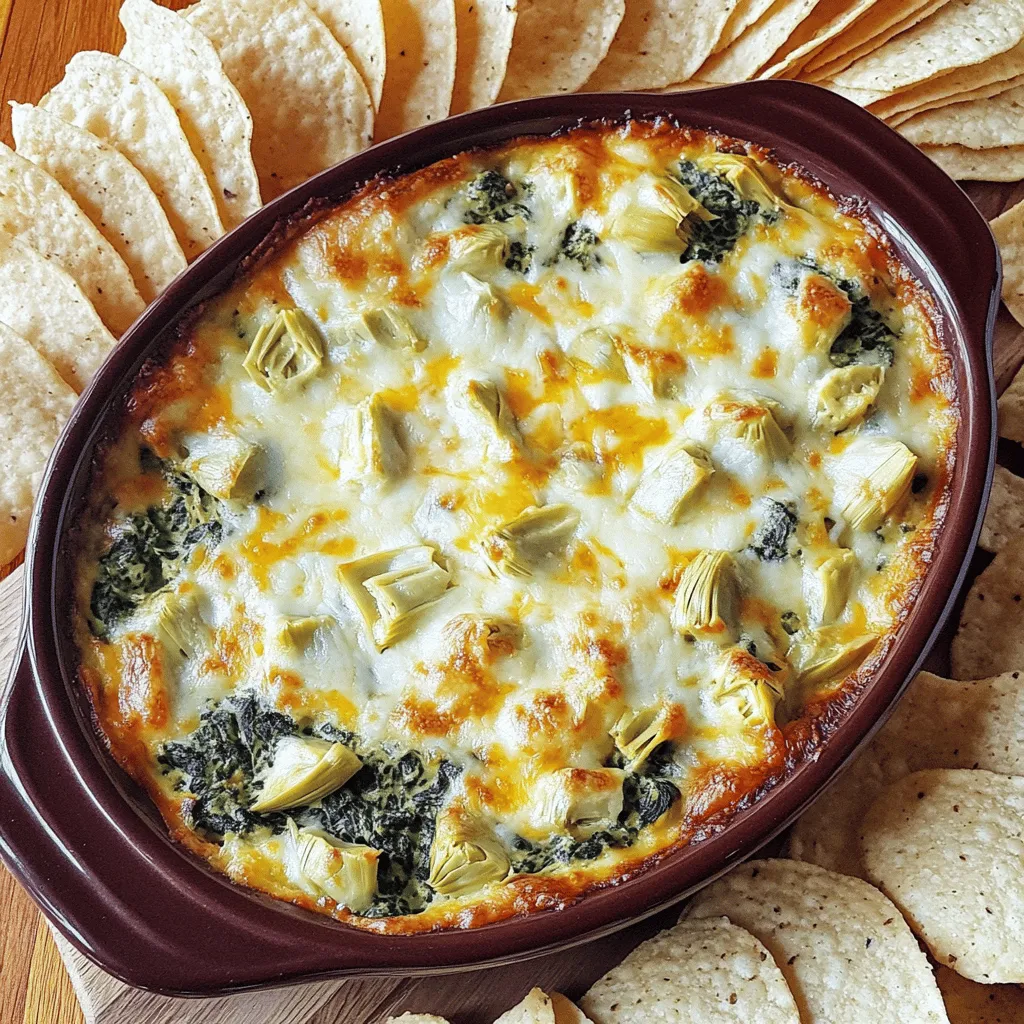
Cheesy Spinach Artichoke Dip Creamy and Flavorful Treat
Are you ready to indulge in a creamy, cheesy delight? This Cheesy Spinach Artichoke Dip offers bold flavors that will
Are you ready to indulge in a creamy, cheesy delight? This Cheesy Spinach Artichoke Dip offers bold flavors that will
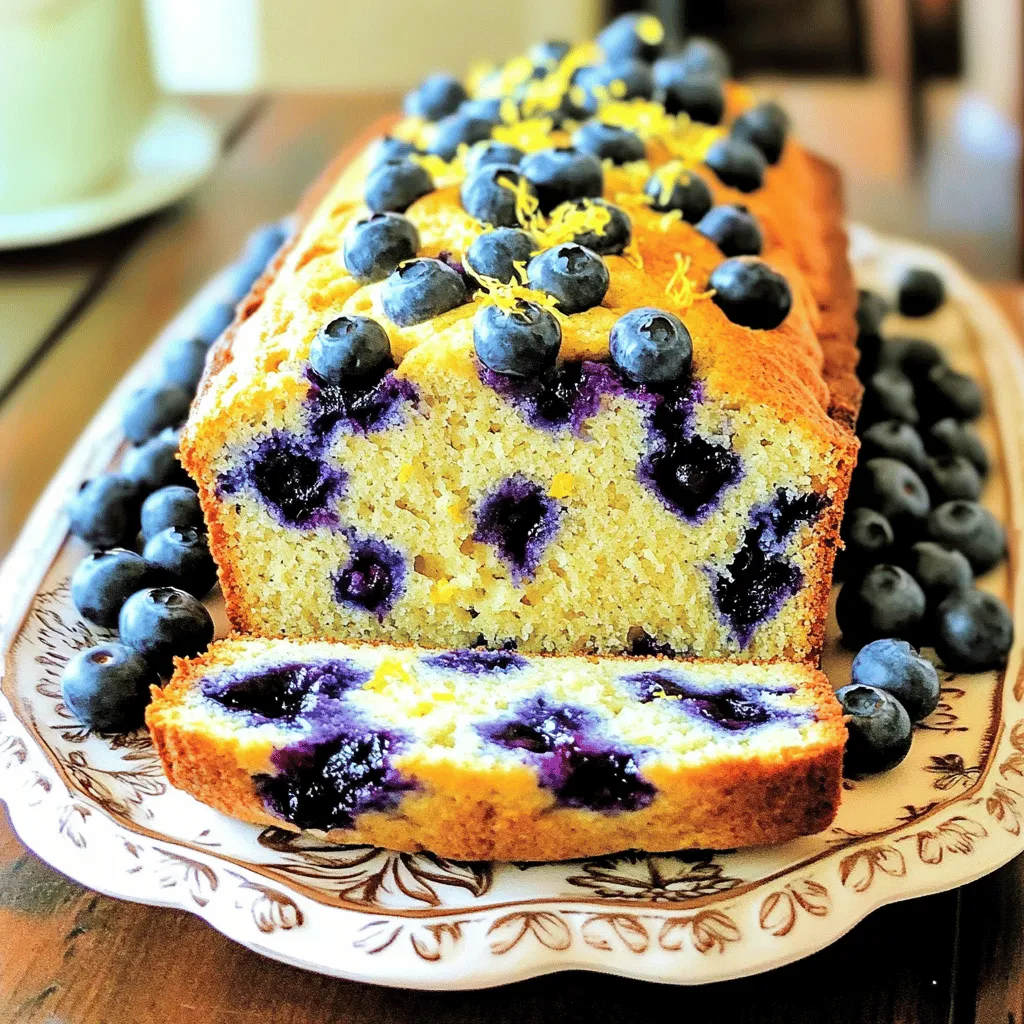
If you love fresh flavors and easy baking, you’re in for a treat! This Lemon Blueberry Yogurt Loaf is simple
![- 1 cup sushi rice - 1 1/4 cups water - 1 tablespoon rice vinegar - 1 teaspoon sugar - 1/2 teaspoon salt - 8 oz sushi-grade tuna, diced - 2 tablespoons mayonnaise (preferably Kewpie or a Japanese mayo) - 1 tablespoon sriracha sauce (adjust to taste) - 1 green onion, finely chopped - 1 avocado, sliced - 1 small cucumber, julienned - 1 sheet of nori, cut into strips - Sesame seeds for garnish - Soy sauce for serving - Pickled ginger (optional) To make a great spicy tuna sushi bowl, you need fresh ingredients. Sushi rice is the base. It sticks well and has the right texture. For the star of the dish, use sushi-grade tuna. This type of tuna is safe to eat raw and is fresh. Look for bright color and firm texture. When choosing tuna, ask your fishmonger. They can help you find the best quality. You want tuna that has been handled properly and kept cold. If you can't find sushi rice, you can use jasmine rice. It won't be the same, but it works well. For mayonnaise, Greek yogurt is a good swap. It adds creaminess without extra fat. If you need gluten-free options, look for tamari instead of soy sauce. It has a similar taste and is safe for gluten-free diets. Start by rinsing the sushi rice. This step is key to getting rid of excess starch. Rinse it under cold water until the water runs clear. Next, combine the rinsed rice with water in a medium saucepan. Bring it to a boil, then cover and lower the heat. Cook the rice for 18-20 minutes until all the water is absorbed. After cooking, let the rice sit covered for 10 minutes. This resting time allows the rice to steam and become fluffy. For the perfect sushi rice, you need to mix rice vinegar, sugar, and salt. In a small bowl, combine one tablespoon of rice vinegar, one teaspoon of sugar, and half a teaspoon of salt. Stir until the mixture dissolves completely. After the rice cools slightly, fluff it gently with a fork. Carefully fold in the vinegar mixture. Let the rice cool to room temperature for the best texture. For the spicy tuna, combine eight ounces of diced sushi-grade tuna with mayonnaise and sriracha. Use two tablespoons of mayonnaise—preferably Kewpie for the best flavor—and one tablespoon of sriracha. Mix everything well until combined. If you like more heat, feel free to add more sriracha. Remember, you can always adjust the spice level to suit your taste. Now it’s time to build your bowls! Start by dividing the seasoned sushi rice among your bowls. Then, top each bowl with a generous portion of spicy tuna. Add sliced avocado and julienned cucumber for color and crunch. For a beautiful presentation, sprinkle sesame seeds over the top and add strips of nori. Serve your bowls with soy sauce and pickled ginger on the side for extra flavor. For the complete recipe, check the [Full Recipe]. To cook sushi rice perfectly, start by rinsing it. Rinse the rice under cold water until the water runs clear. This removes excess starch. Next, combine the rinsed rice and water in a saucepan. Bring it to a boil, then cover and reduce the heat. Cook for about 18-20 minutes. Once done, let it sit covered for 10 minutes. This step ensures the rice becomes fluffy. If you have leftover rice, store it in an airtight container. It can stay fresh in the fridge for about three days. To reheat, add a little water and microwave it covered. This method helps the rice regain its texture. To modify the heat in your spicy tuna, adjust the sriracha. If you want less spice, use less sriracha or add more mayonnaise. You can also add other ingredients for texture. Finely chopped cucumber or crunchy tempura bits can add a great bite. Try adding avocado for creaminess or some sesame oil for extra flavor. Garnishing is key to making your bowl look great. Use sesame seeds to add crunch and a nutty flavor. Sprinkle them on just before serving. For nori, cut it into strips and place it over the top. This adds a touch of elegance and flavor. When serving, use clear bowls. This allows the colorful layers to show. Arrange the rice, spicy tuna, and veggies neatly. A beautiful presentation makes your meal more inviting. For fun, add pickled ginger on the side for a fresh contrast. For the full recipe, check out the details above. Enjoy crafting your spicy tuna sushi bowl! {{image_2}} You can make your spicy tuna sushi bowl with different proteins. If you want a change, try salmon. It has a rich flavor that pairs well with the other ingredients. For a plant-based option, you can use tofu. Tofu absorbs flavors well, making it a great substitute. Just marinate it in a mix of soy sauce and sriracha. For a vegan bowl, skip the tuna and mayo. Instead, use avocado and seaweed. You can also add chickpeas for protein. This keeps your dish colorful and healthy. Toppings can add a lot of fun to your sushi bowl. Try adding radish for crunch or edamame for protein. Both will give your bowl a fresh twist. You might also enjoy using spicy mayo as a topping. It brings heat and creaminess that ties the dish together. For sauces, explore unique options. A drizzle of ponzu sauce can add a tangy flavor. You could also try a sesame dressing for a nutty taste. These sauces enhance the dish and make every bite exciting. Feel free to mix and match toppings and sauces. This allows you to create a bowl that suits your taste. For the full recipe, check out the [Full Recipe]. To store leftovers, keep sushi rice and spicy tuna separate. Place sushi rice in an airtight container. It stays fresh for up to three days in the fridge. For the spicy tuna, use a different airtight container. It will last for about two days. Make sure the tuna is cold before sealing the container. This helps keep it fresh. If you want to freeze the rice, you can do that too. Spread the cooled rice on a baking sheet. Freeze it for about an hour. Then, transfer it to a freezer bag. This way, it stays good for about a month. To reheat sushi rice, add a little water to it. Place it in the microwave for about 20 seconds. Stir it, then heat for another 20 seconds. This helps the rice regain its moisture. When storing raw fish, always be careful. Keep it in the coldest part of your fridge. Use it within two days for the best taste. If it smells off or looks different, throw it away. Safety first! You want to use sushi-grade tuna for sushi bowls. This type is fresh, high quality, and safe to eat raw. Look for bright red or deep pink flesh. The fish should smell fresh, not fishy. When you buy your tuna, ask for a cut that is firm, moist, and free from any dark spots. This ensures the best flavor and texture for your spicy tuna. Yes, you can make spicy tuna ahead of time. Just mix the tuna, mayonnaise, and sriracha a few hours before serving. Store it in an airtight container in the fridge. This allows flavors to meld together. However, add green onions right before serving to keep them fresh. If you prepare it too far in advance, the tuna may lose its texture and flavor. This recipe can be gluten-free with a few swaps. Use gluten-free soy sauce instead of regular soy sauce. Check the mayonnaise label, as some brands may contain gluten. For the rice, all sushi rice is gluten-free. Just ensure your other ingredients, like toppings, are also gluten-free to keep the entire dish safe for those with gluten sensitivities. You can easily make sushi rice on the stovetop. Start by rinsing 1 cup of sushi rice under cold water until the water runs clear. Then, combine it with 1 1/4 cups of water in a saucepan. Bring it to a boil over high heat. Once it boils, cover the pot and reduce the heat to low. Cook for 18 to 20 minutes until the water is absorbed. Remove it from heat and let it sit covered for 10 minutes to steam. Fluff it with a fork before serving. If you want a mayo substitute, try Greek yogurt for a healthier option. It adds creaminess but has less fat. You can also use avocado for a richer flavor. If you follow a vegan diet, look for plant-based mayonnaise. This gives you the same creamy texture without any animal products. Adjust the sriracha in the mix to match your taste preference. For the full recipe, check the details above. In this article, we explored how to make delicious sushi bowls. We covered essential ingredients, like sushi rice and fresh tuna. You learned about common substitutions for dietary needs and found step-by-step instructions for preparation. We also shared tips for perfect rice and ways to customize your spicy tuna mix. Use these insights to create your own tasty sushi bowls at home. Enjoy the process and impress others with your skills! Your culinary journey starts here.](https://soyumrecipes.com/wp-content/uploads/2025/07/bd7f6238-ce2e-4149-ad71-0bc14ff115aa.webp)
Craving a fresh, flavorful meal? Look no further! In this guide, I’ll walk you through making delicious Spicy Tuna Sushi
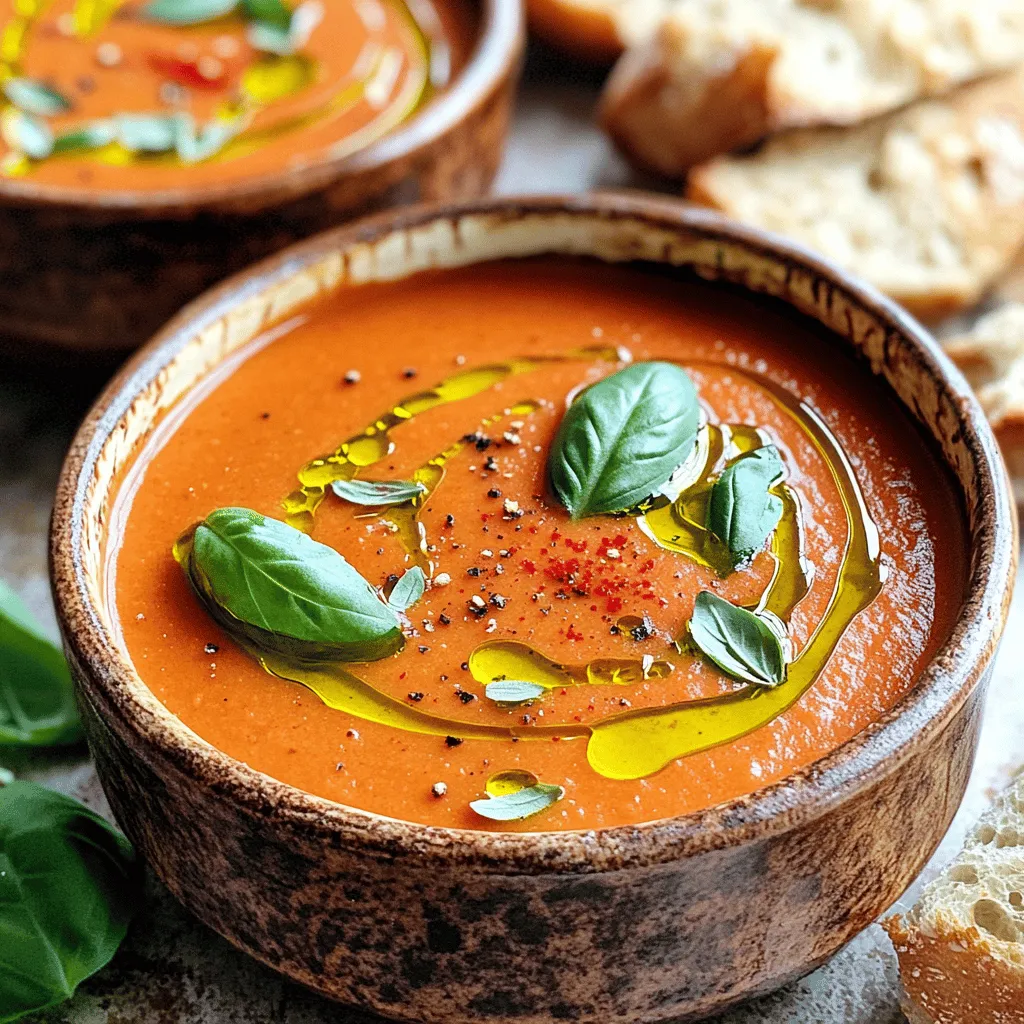
There’s nothing like a warm bowl of creamy tomato basil soup to comfort you. I’ll show you how easy it
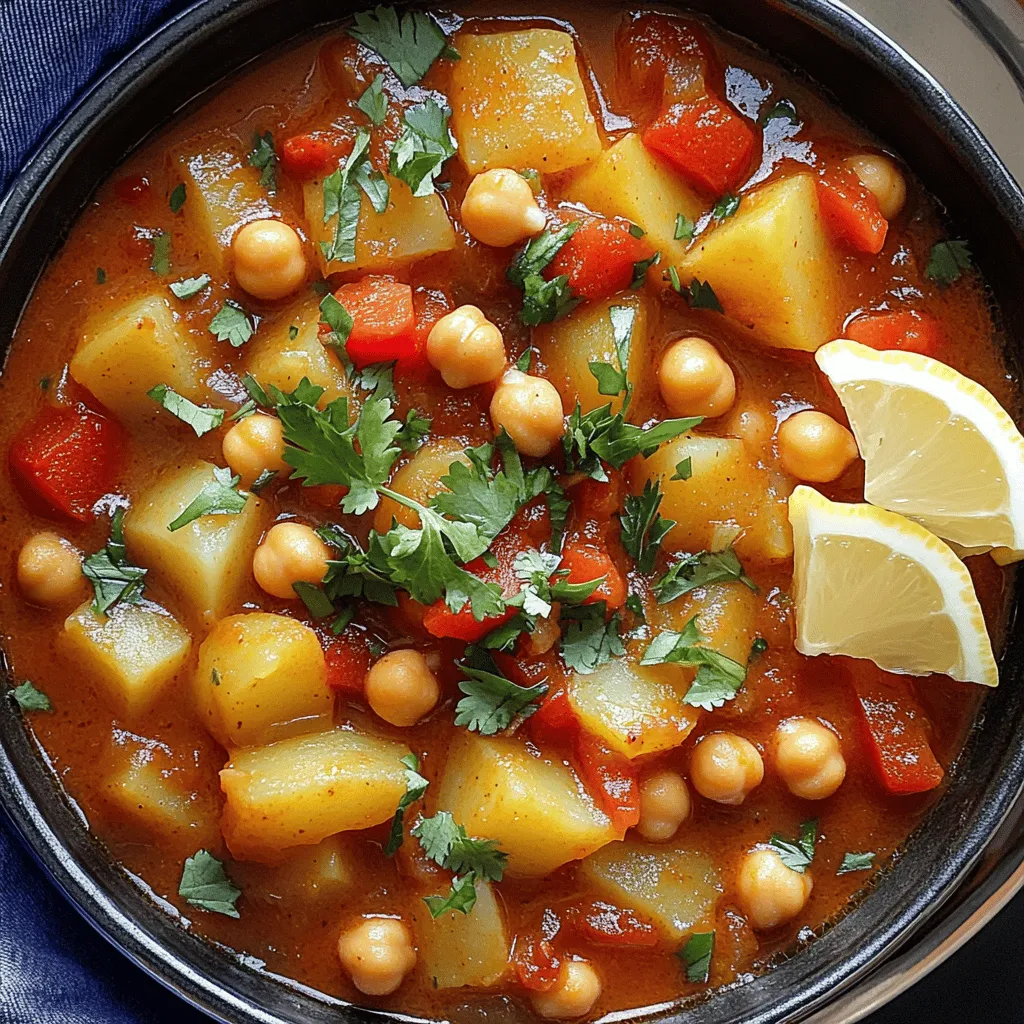
Are you ready to dive into a bowl of warmth and flavor? Moroccan Chickpea Stew is simple to make and

If you love the warm, buttery taste of naan bread, you’re in for a treat! This easy garlic naan bread
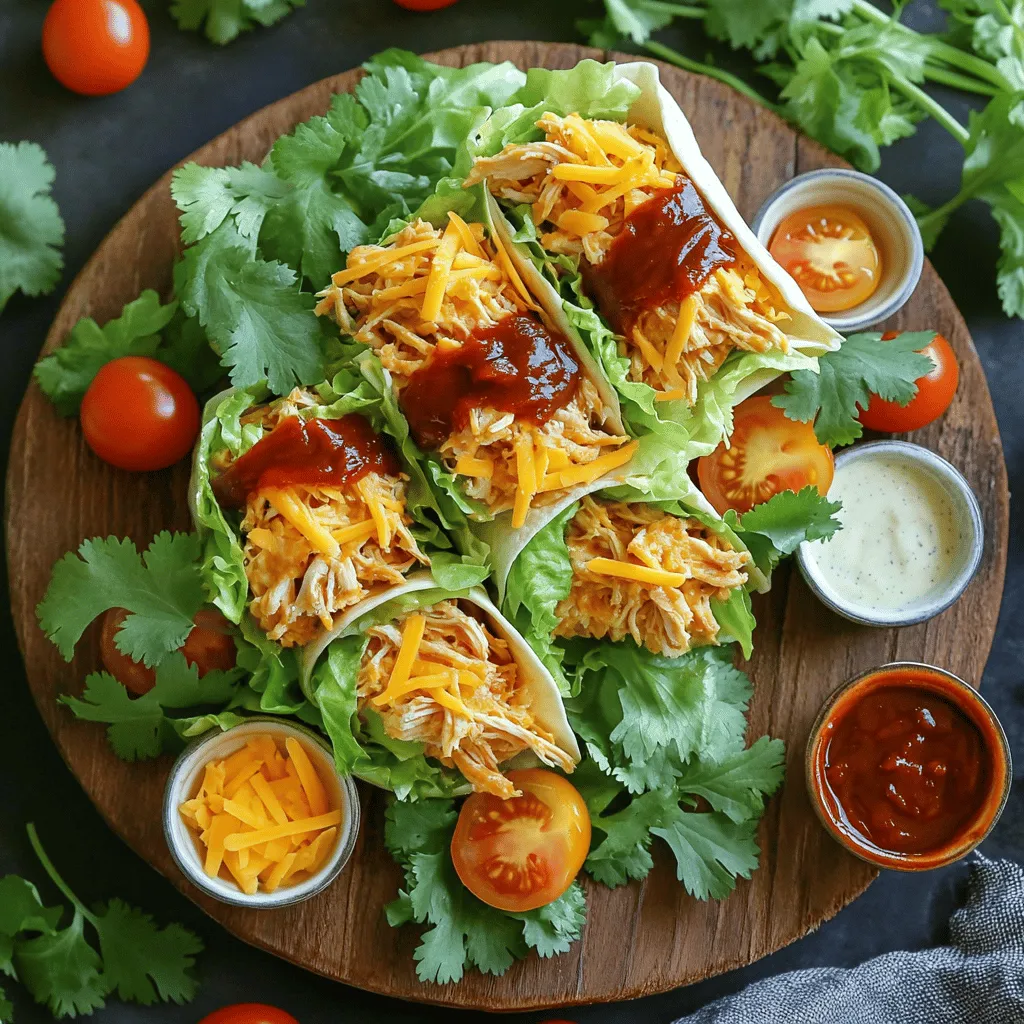
If you’re looking for a quick and tasty meal, BBQ Ranch Chicken Wraps are your answer! This dish is not
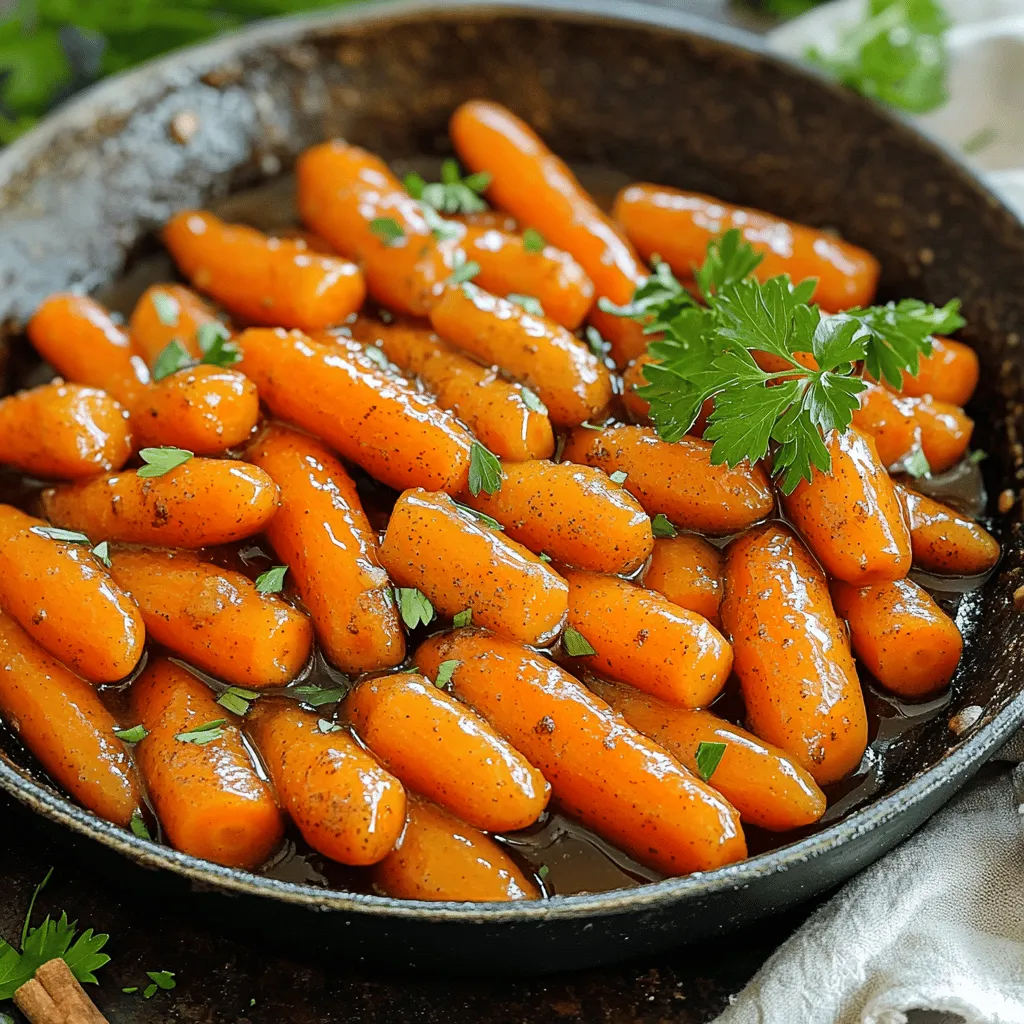
Looking to elevate your side dish game? Maple glazed carrots are the perfect choice! With their sweet syrupy coating and
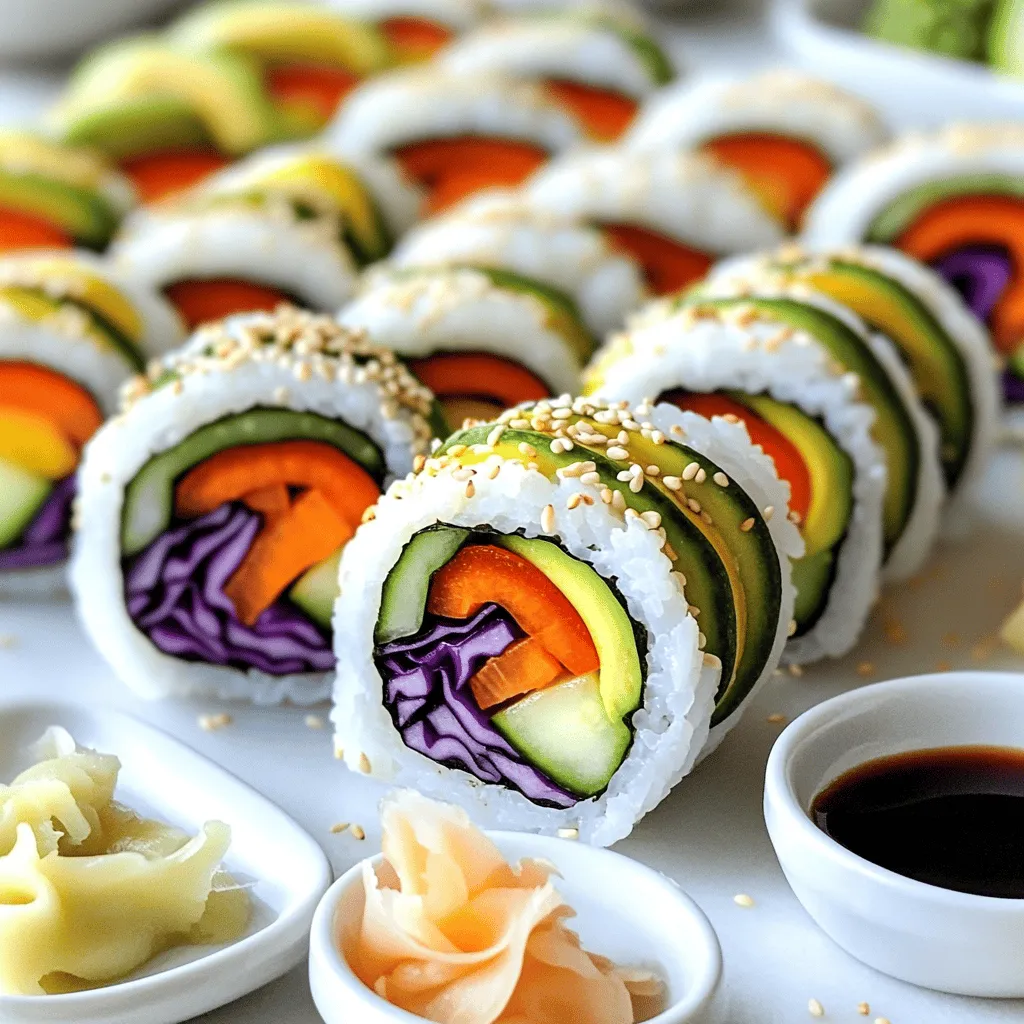
Are you ready to dive into the world of delicious vegetarian sushi rolls? In this guide, I’ll share my favorite
![- 1 ripe mango, diced - 1 cup canned black beans, rinsed and drained - 1/2 red bell pepper, finely chopped - 1/2 red onion, finely chopped - 1 jalapeño, seeds removed and minced (optional for extra heat) - 1/4 cup fresh cilantro, chopped - Juice of 2 limes - 1 tablespoon olive oil - Salt and pepper to taste Using the right amount of each ingredient is key for great flavor. Accurate measurements make sure that the salsa tastes just right. If you add too much of one thing, it can throw off the balance. To choose a ripe mango, look for one that feels slightly soft when you squeeze it. It should also have a sweet smell near the stem. A ripe mango will give your salsa the best taste! For the black beans, use canned ones for ease. Just rinse them well to remove excess sodium and any canning liquid. These steps will help you create a Mango Black Bean Salsa that is fresh and tasty. Enjoy the vibrant colors and flavors in every bite! Check out the Full Recipe for detailed instructions. Start by gathering all your ingredients. You’ll need a ripe mango, black beans, red bell pepper, red onion, and jalapeño. Dice the mango into small pieces. Rinse and drain the black beans. Then, chop the red bell pepper and red onion finely. If you like heat, mince the jalapeño after removing the seeds. Next, take a large mixing bowl and combine all these ingredients. Add the chopped cilantro for a fresh touch. Now, drizzle the mixture with the juice of two limes and one tablespoon of olive oil. The lime juice adds zing, while the oil brings richness. It’s time to mix! Gently toss the salsa with a large spoon. Be careful not to mash the mango. You want each piece to shine in the mix. To ensure even flavor distribution, focus on folding the ingredients. This gentle motion helps coat everything with lime and oil, making each bite tasty. Chilling the salsa is key. It allows the flavors to blend nicely. This step also cools the salsa, making it refreshing. I recommend chilling for at least 30 minutes. This waiting time enhances the taste. Your salsa will burst with flavor after a good chill. For the full recipe, check out the complete instructions and tips! Adjust the salt and pepper to fit your taste. Start with a pinch of salt and a dash of pepper. Mix it well and taste it again. If it needs more flavor, add a bit more. For heat, you can add more minced jalapeño. If you like sweetness, try adding a touch of honey or agave. This will balance the flavors nicely. Serve the salsa in a bright bowl. A colorful bowl makes everything pop! You can add extra cilantro on top for a burst of green. Pair the salsa with crispy tortilla chips. This adds a fun crunch. Use a large spoon or a scoop for easy serving. This way, everyone gets a good amount. You can make this salsa a few hours before serving. It tastes even better after chilling. Store it in the fridge in an airtight container. This keeps it fresh and tasty. If you want it to last longer, make sure to keep it covered. The next day, check the salsa before serving. If it looks good, it will probably taste great too! {{image_2}} You can swap black beans for other beans, like pinto or kidney beans. These beans add a different taste and texture. If you want a unique flavor, try chickpeas. For herbs, parsley works well instead of cilantro. You can also use green onions for a milder taste. Want to add more fruit? Pineapple or peach gives a sweet twist. Both fruits add a juicy burst that pairs great with mango. You can mix in diced cucumber or corn for extra crunch. These additions make the salsa more colorful and fun! This salsa is vegan-friendly. It contains no animal products, making it great for plant-based diets. If you need low-sodium options, rinse the canned beans well. You can leave out the added salt for a healthier choice. Just taste as you go to find the right balance. To keep your Mango Black Bean Salsa fresh, refrigerate it right away. Place the salsa in an airtight container. This helps keep air out and flavors in. You can also use a glass jar with a tight lid. Make sure the salsa is cool before sealing it. This prevents condensation, which can make it watery. Mango Black Bean Salsa lasts about 3 to 5 days in the fridge. After that, check for signs of spoilage. Look for off smells or changes in color. If the salsa seems slimy, it's best to throw it out. Trust your senses; if it doesn’t smell or look right, don’t eat it. Can you freeze salsa? Yes, but it may change in texture. To freeze, use a freezer-safe container. Leave some space at the top since salsa expands when frozen. To thaw, place it in the fridge overnight. You can also run the container under warm water for quicker thawing. Use thawed salsa within a week for the best taste. For the full recipe to make this tasty dip, check out the [Full Recipe]. To make Mango Black Bean Salsa, start with the right tools. Use a sharp knife and a cutting board. Here are some steps for beginners: - Dice the ripe mango, making sure it's sweet and firm. - Rinse and drain the canned black beans well to remove excess salt. - Chop the red bell pepper and red onion finely for a nice crunch. - If you like heat, mince a jalapeño without the seeds. - Combine all ingredients in a large bowl. - Add fresh cilantro, lime juice, and olive oil. - Gently mix everything to blend the flavors. Let it chill in the fridge for about 30 minutes. This step helps the flavors come together. You can find the full recipe above for more details. Yes, you can use fresh black beans. Fresh beans have a great taste. However, they require more prep time. Here are some pros and cons of each option: Canned Black Beans: - Quick and easy to use. - Already cooked and ready to eat. - Consistent flavor and texture. Fresh Black Beans: - Better flavor and texture if cooked right. - You control the amount of salt. - Longer cooking time and more effort. Choose what works best for your time and taste! Mango Black Bean Salsa is versatile. It pairs well with many dishes. Here are some ideas for appetizers and main dishes: - Serve with tortilla chips for a fun snack. - Use it as a topping on grilled chicken or fish. - Add it to tacos for a fresh twist. - Pair it with quesadillas or nachos for a hearty meal. For parties, make a big bowl of salsa. Serve it with colorful bowls and a variety of chips. You can even offer it with grilled meats or as a dip for veggies! Mango Black Bean Salsa combines fresh, bright flavors that excite the palate. We discussed main and additional ingredients, measuring tips, and preparation steps for a tasty dish. I shared mixing techniques and why chilling enhances the salsa’s taste. You learned helpful tips for flavor and presentation, along with storage methods to keep it fresh. This salsa is easy to make and can fit many diets. Try different ingredients to suit your taste. Enjoy making and sharing this vibrant dish at your next gathering!](https://soyumrecipes.com/wp-content/uploads/2025/07/4a4ed163-9ba9-4493-b9a6-82fb7ffab537.webp)
Looking for a fresh, vibrant dip that screams summer? This Mango Black Bean Salsa is packed with juicy mango, hearty
