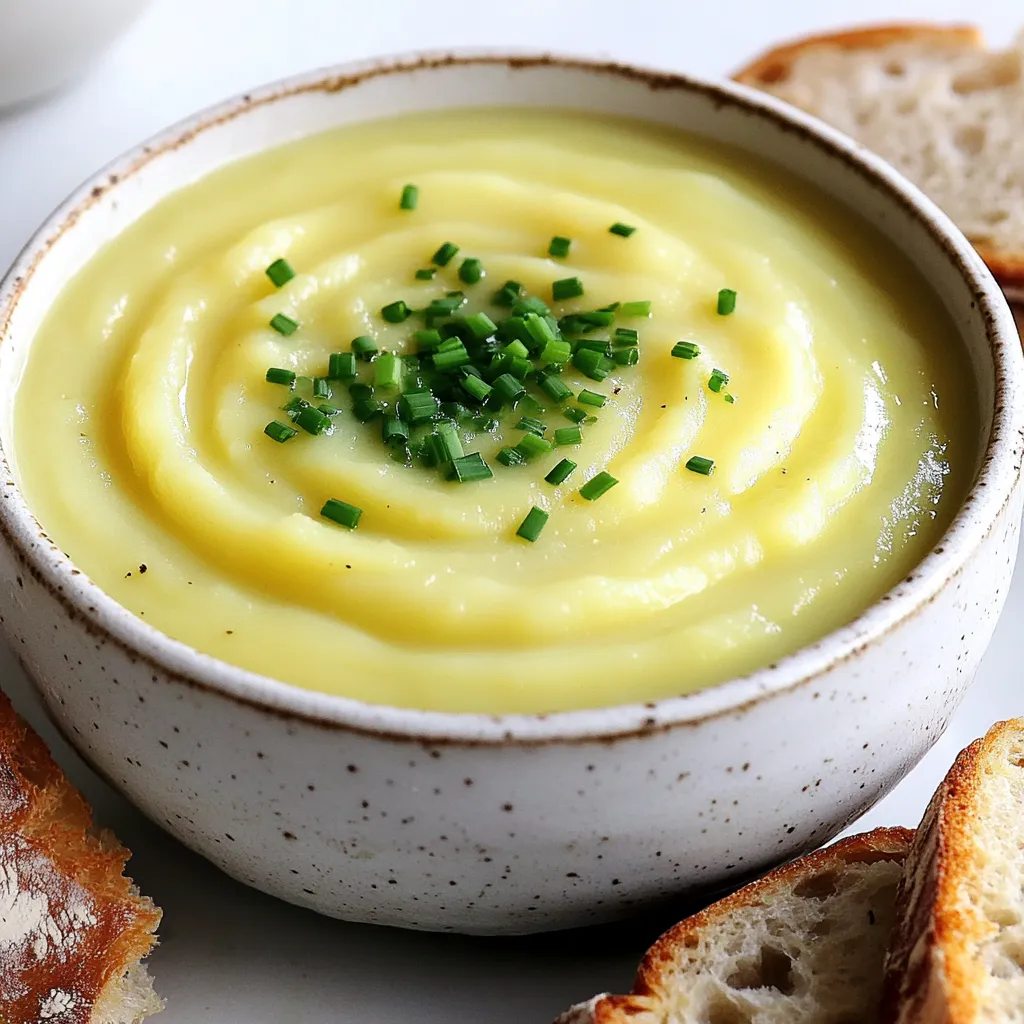
Slow Cooker Potato Leek Soup Comforting and Simple Recipe
Looking for a simple and comforting dish? Look no further! This Slow Cooker Potato Leek Soup is both easy to
Looking for a simple and comforting dish? Look no further! This Slow Cooker Potato Leek Soup is both easy to
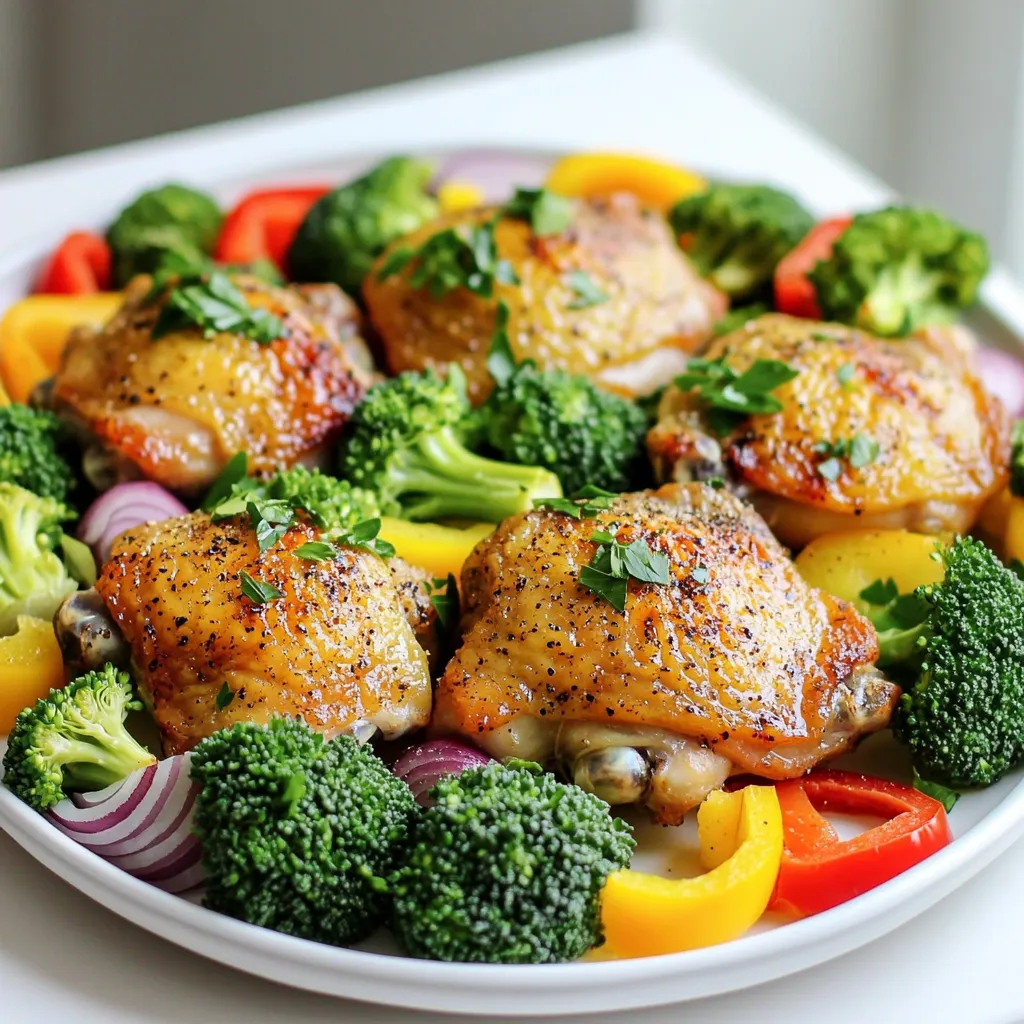
Looking for a quick and tasty dinner? You’ll love my Sheet Pan Lemon Pepper Chicken Veggies Delight! This dish is
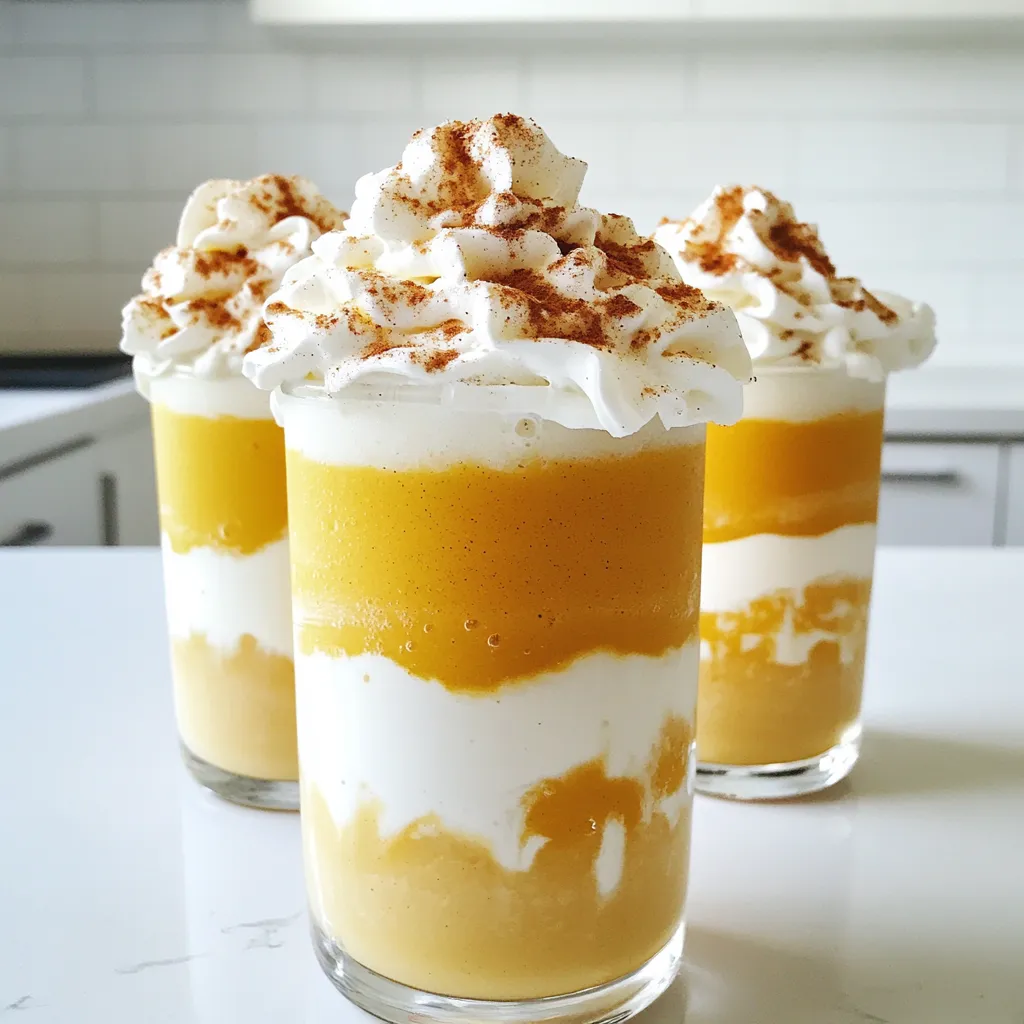
Fall is here, and it’s the perfect time for a delicious Pumpkin Spice Milkshake! This easy recipe combines creamy vanilla

Are you ready to impress your taste buds? My Air Fryer Coconut Shrimp recipe is crispy, flavorful, and super easy
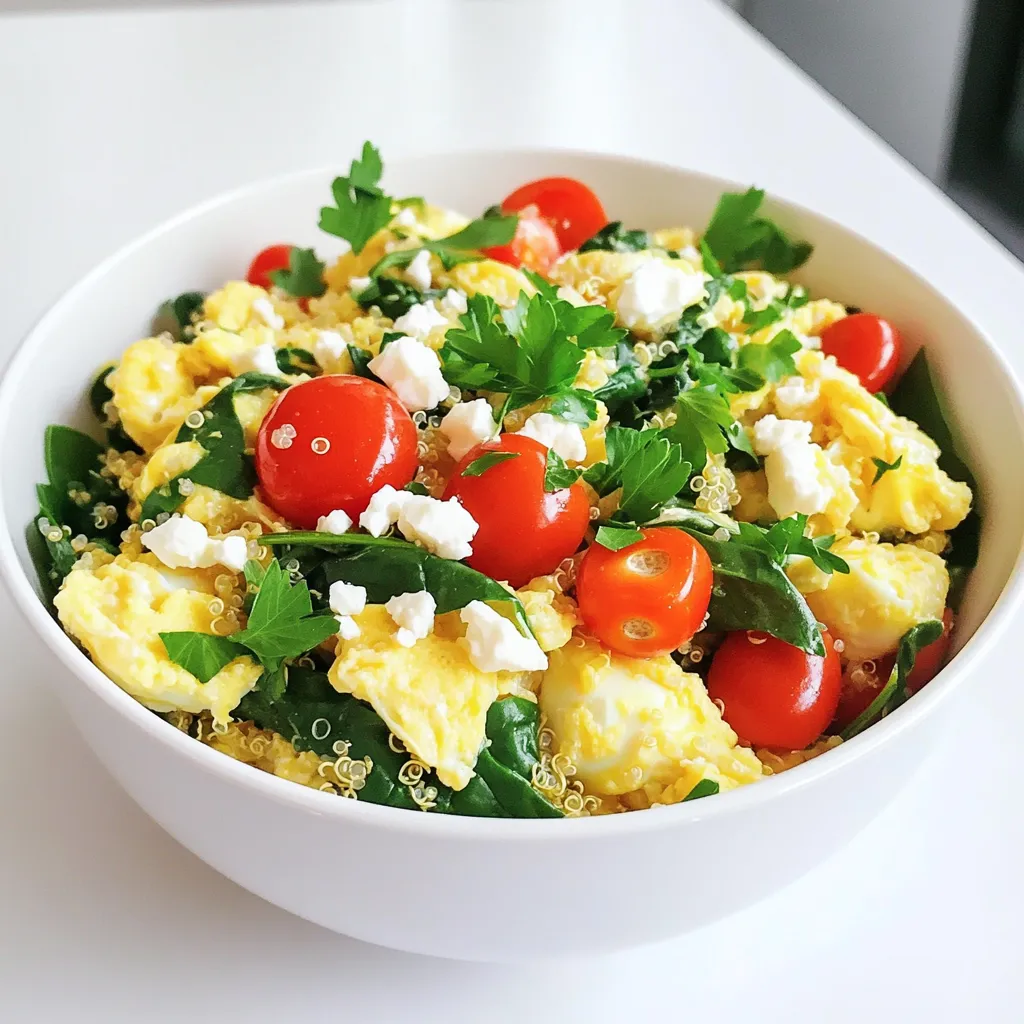
Looking for a quick and healthy meal? High protein egg white scramble bowls are your perfect answer! Packed with lean
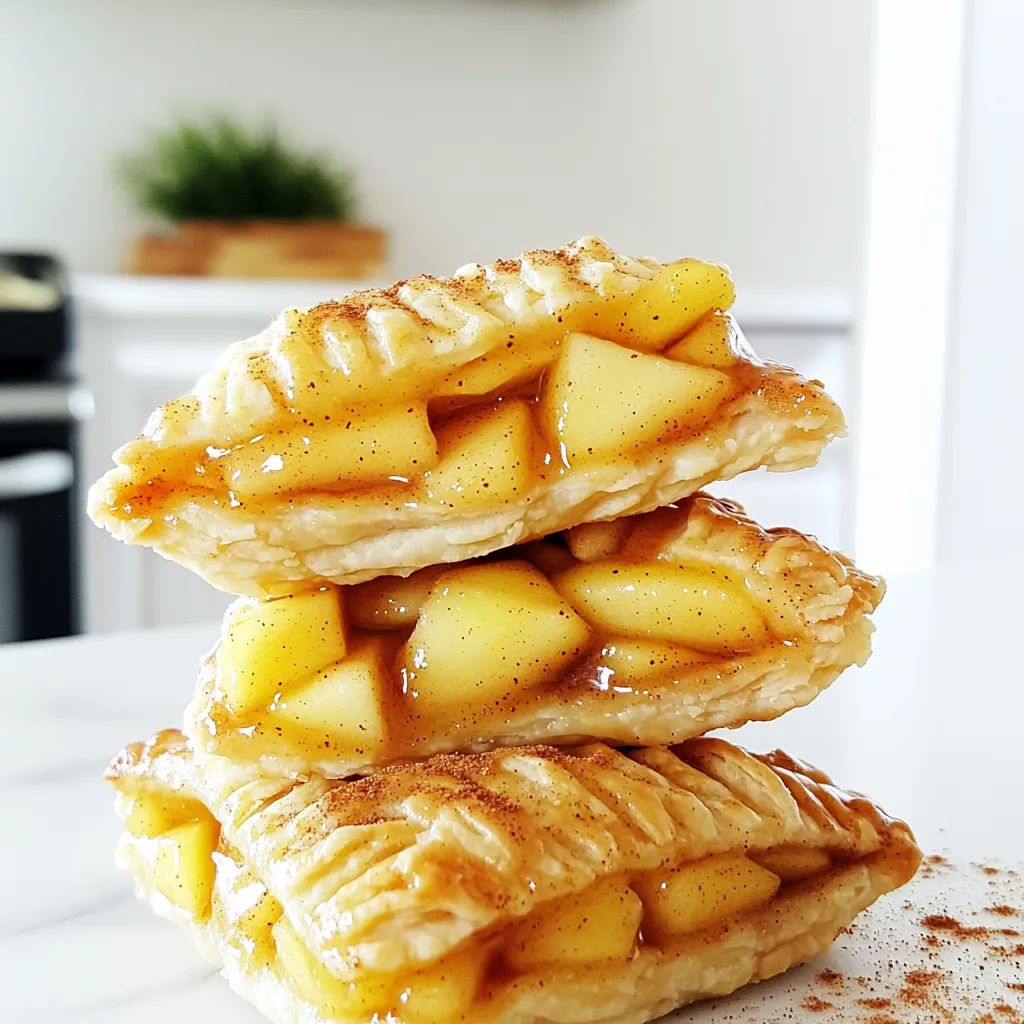
Are you ready to elevate your snack game? In this easy recipe guide for Heavenly Apple Cinnamon Pop Tarts, you’ll
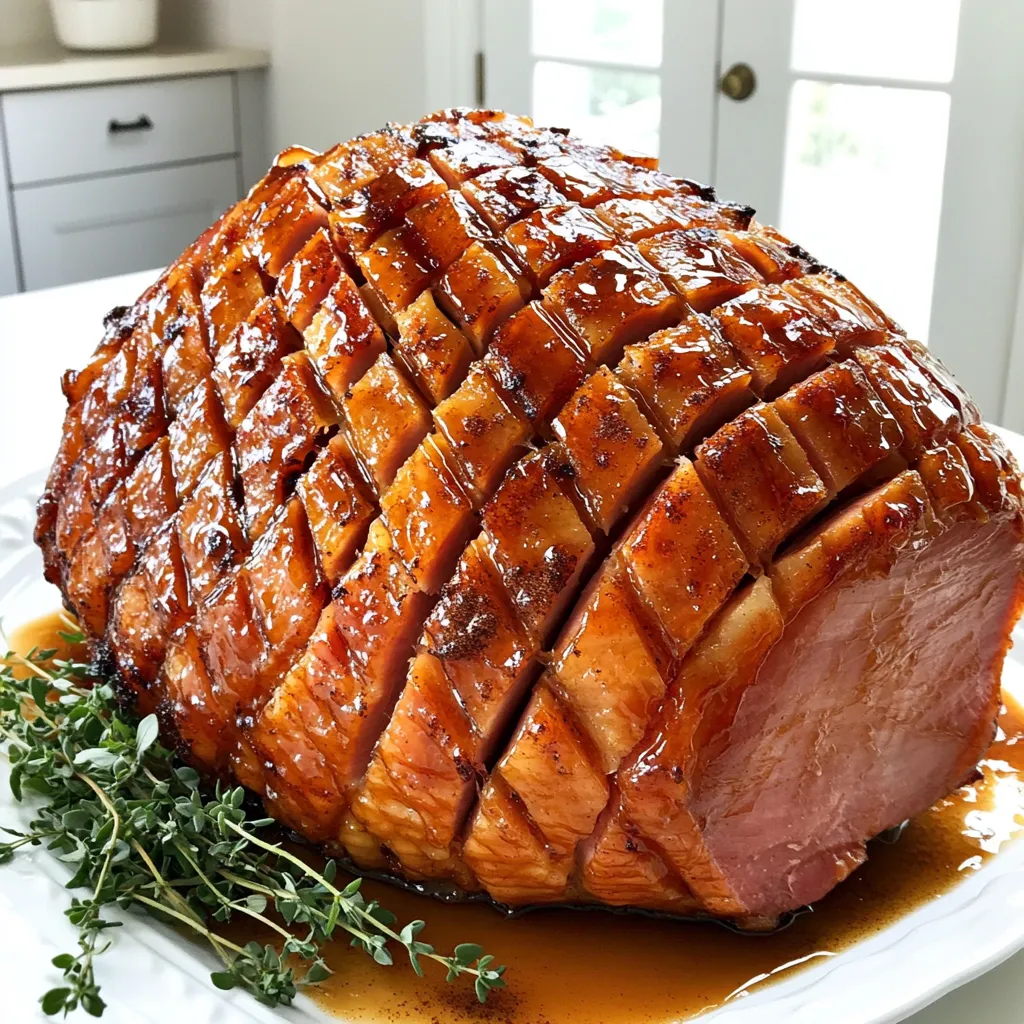
Looking for an easy way to impress at your next dinner? This Maple Brown Sugar Glazed Ham Slow Cooker Delight
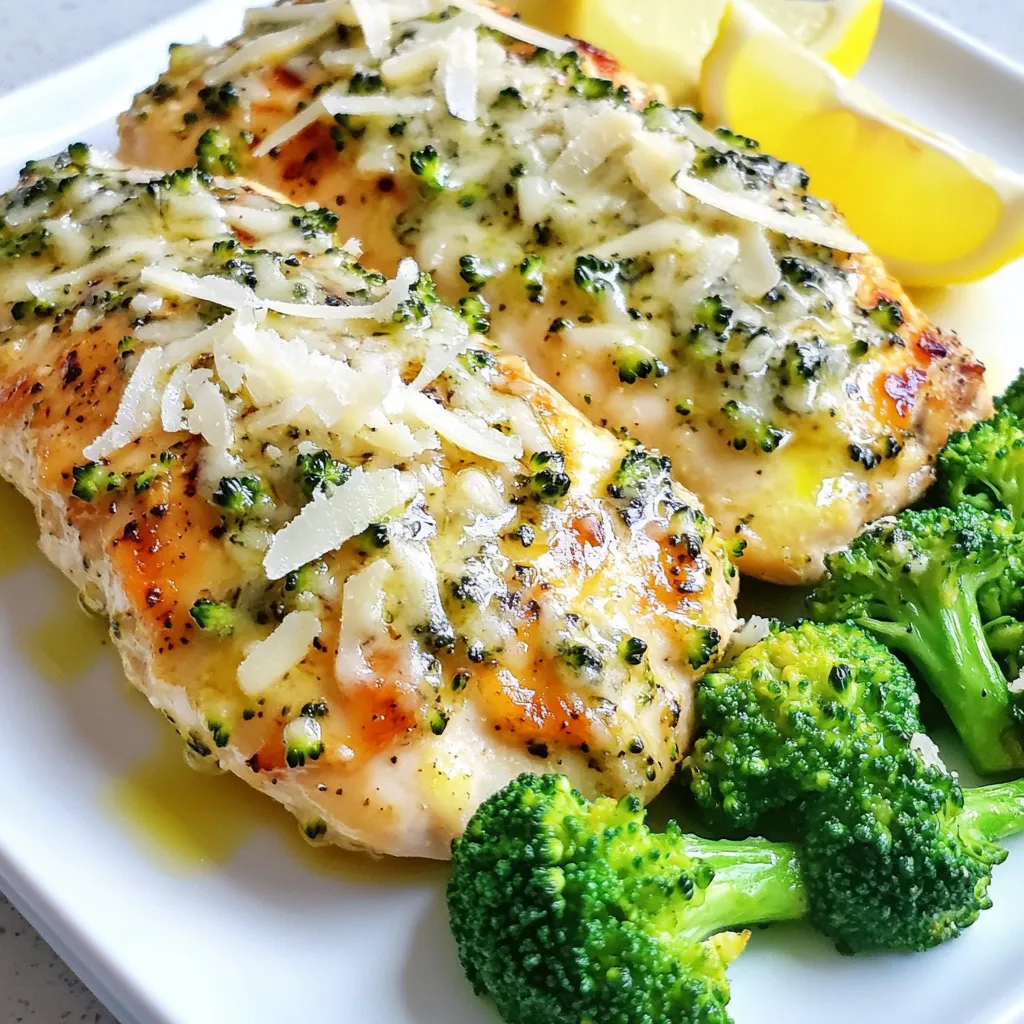
If you love quick meals packed with flavor, you’re in for a treat! My Garlic Parmesan Chicken and Broccoli Sheet
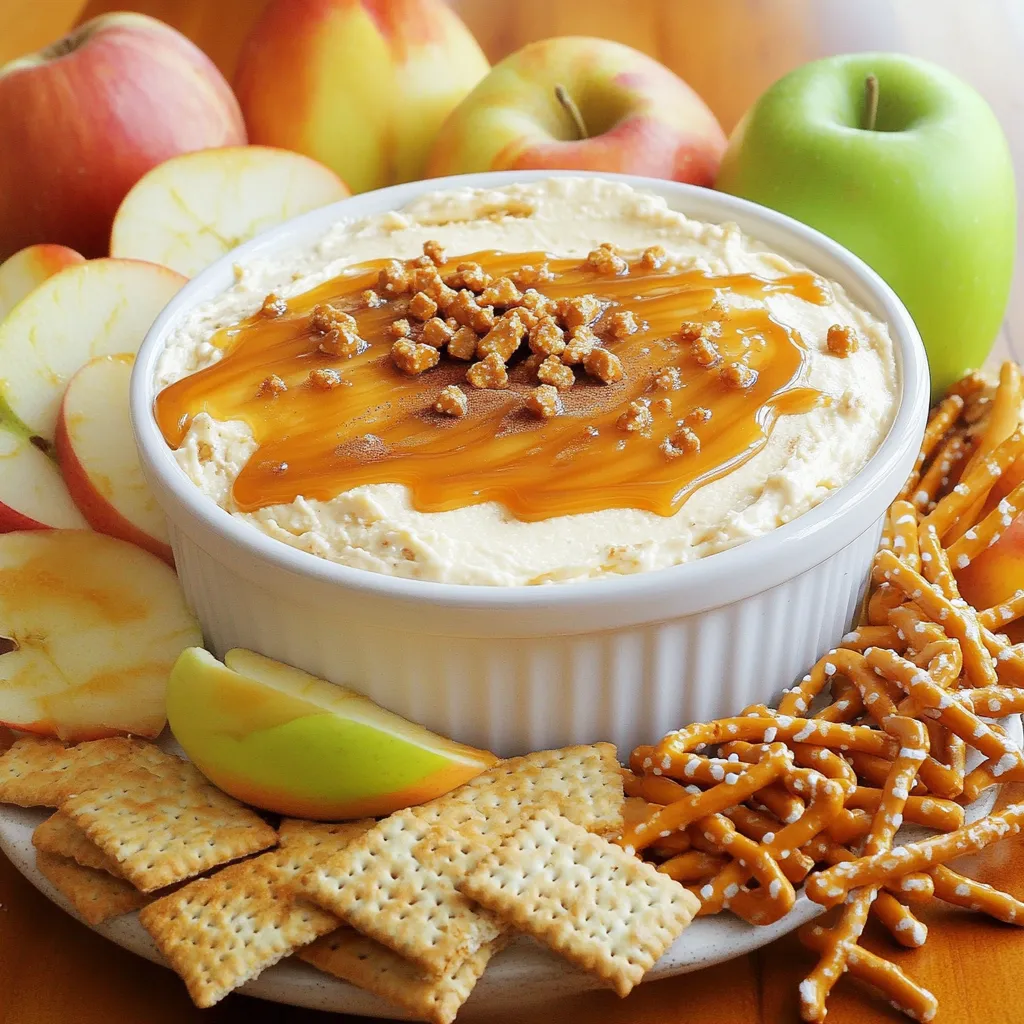
Craving a tasty treat that’s both sweet and simple? Look no further! This Caramel Apple Cheesecake Dip combines creamy goodness
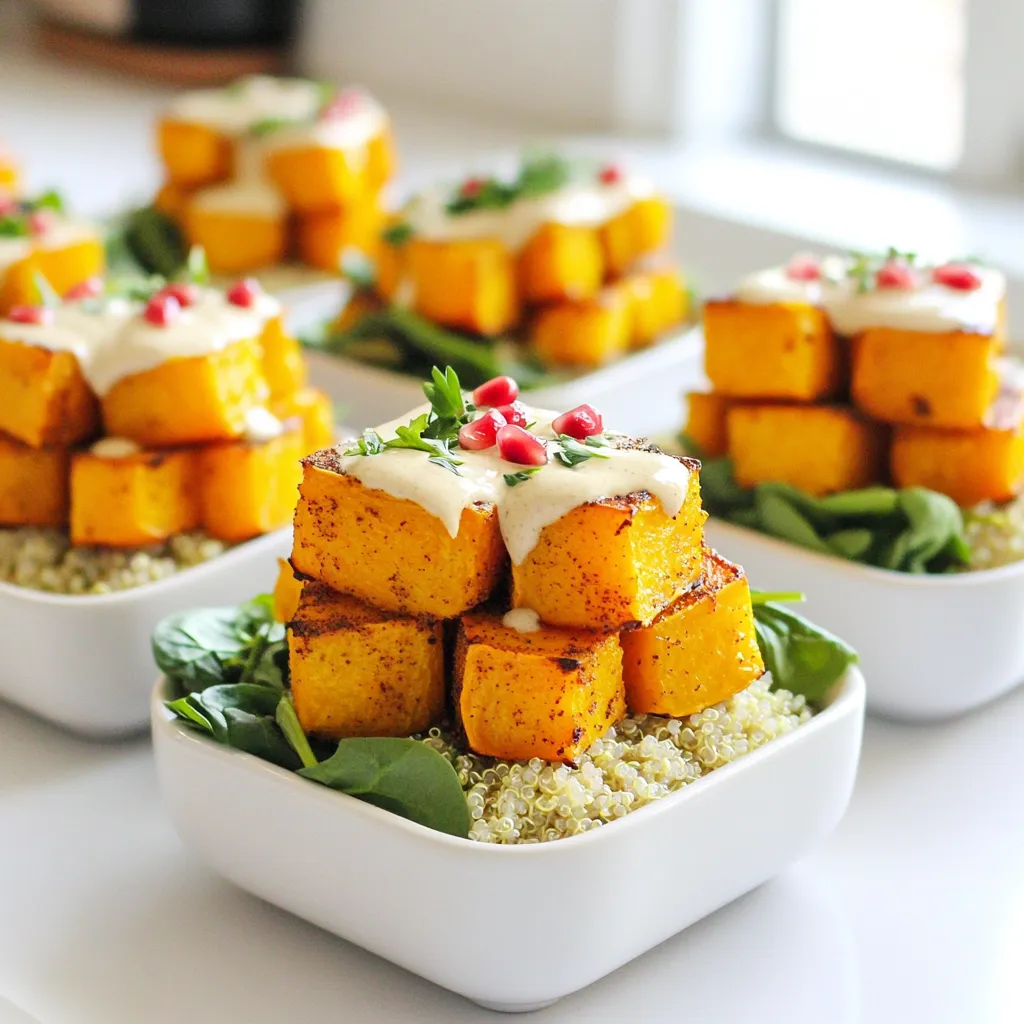
Welcome to a delicious adventure in the kitchen! Butternut Squash Quinoa Bowls with Tahini Delight are not only flavorful, but
