
Chickpea Spinach Stuffed Sweet Potatoes Delightfully Healthy
Are you ready to enjoy a meal that’s both tasty and good for you? These Chickpea Spinach Stuffed Sweet Potatoes
Are you ready to enjoy a meal that’s both tasty and good for you? These Chickpea Spinach Stuffed Sweet Potatoes
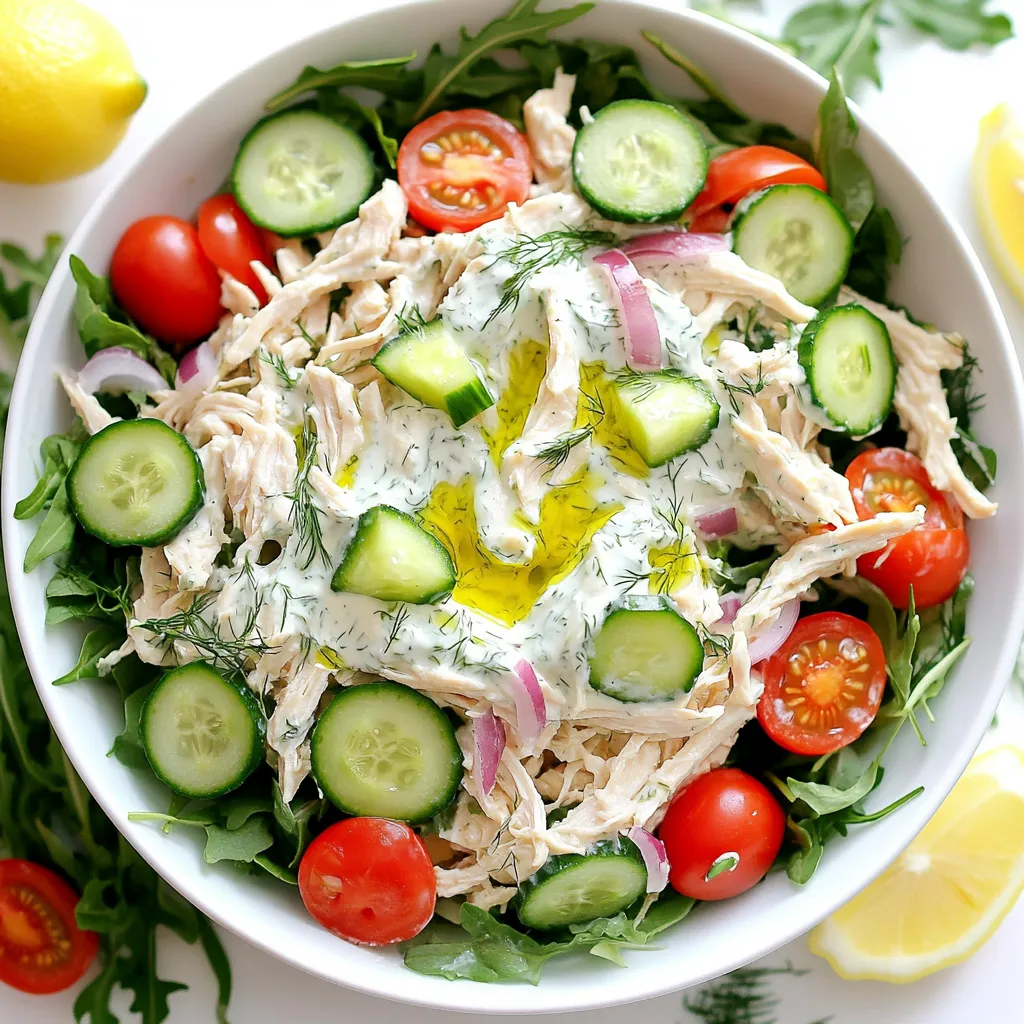
Looking for a refreshing meal that bursts with flavor? Try my Tzatziki Chicken Salad! This easy recipe combines juicy chicken
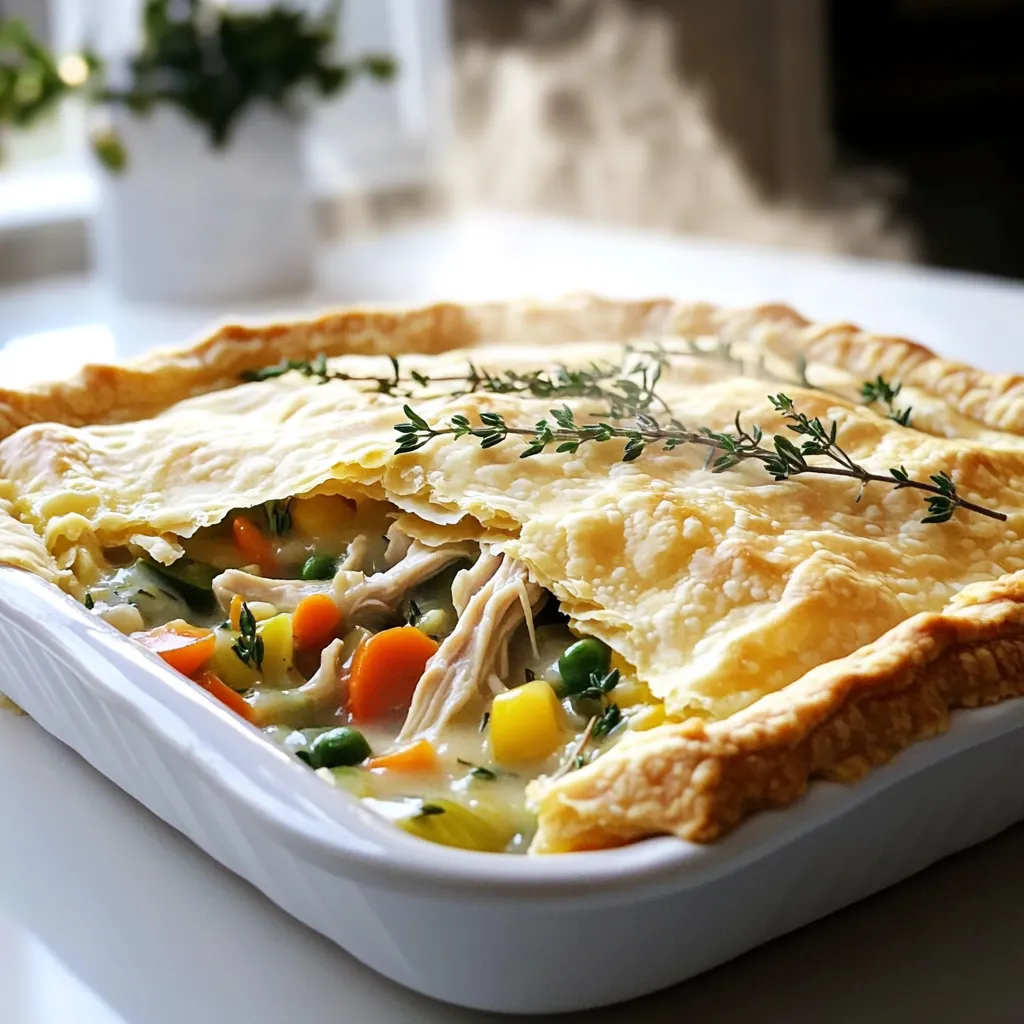
Are you craving a warm, filling meal that’s easy to make? Look no further! My Savory Chicken Pot Pie Bake
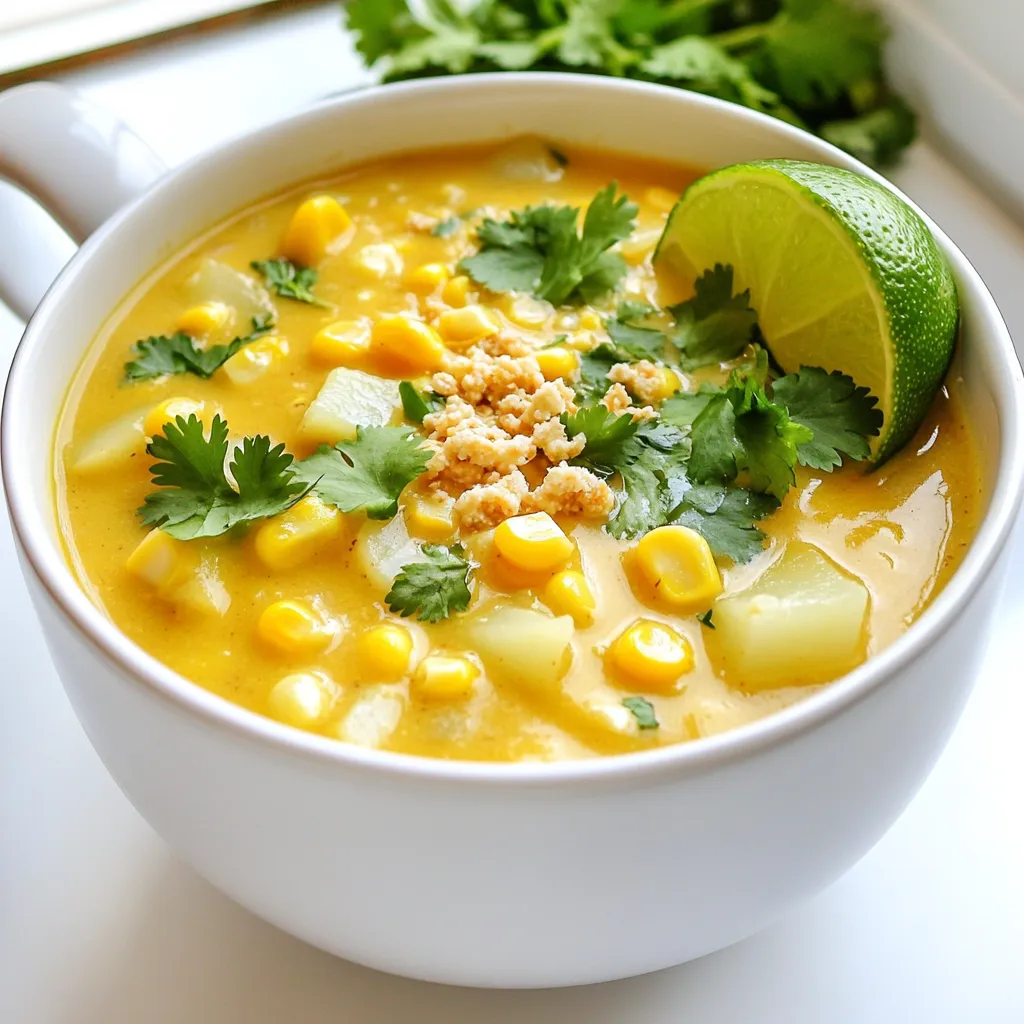
Welcome to a bold, tasty adventure! Mexican Street Corn Soup blends sweet corn, spices, and cream into a warm hug

Baking croissants doesn’t have to be hard! In this easy guide, I’ll show you how to make fluffy, irresistible croissants
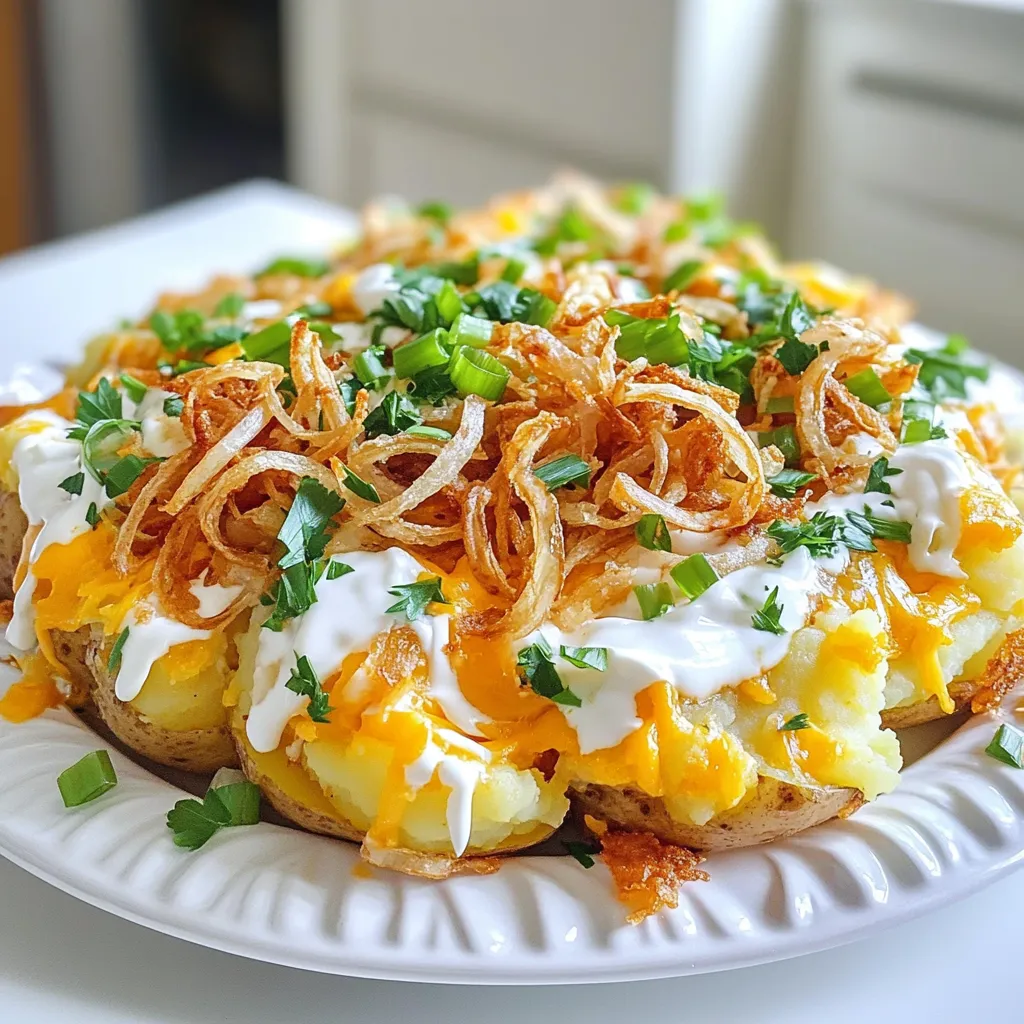
If you crave comfort food that warms your heart and fills your belly, Loaded Smash Potatoes are the answer! This
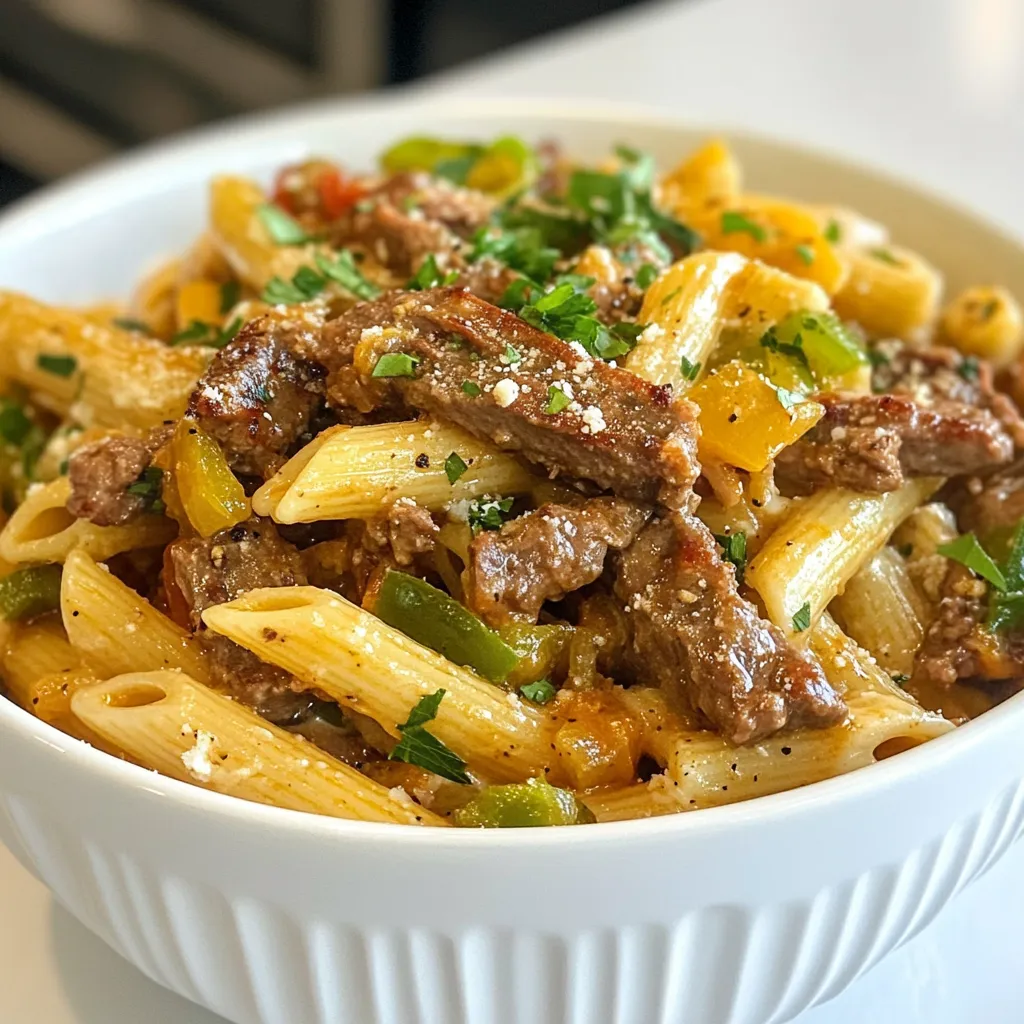
Are you ready to spice up dinner time? This Philly Cheesesteak Pasta is a fun twist on the classic sandwich.
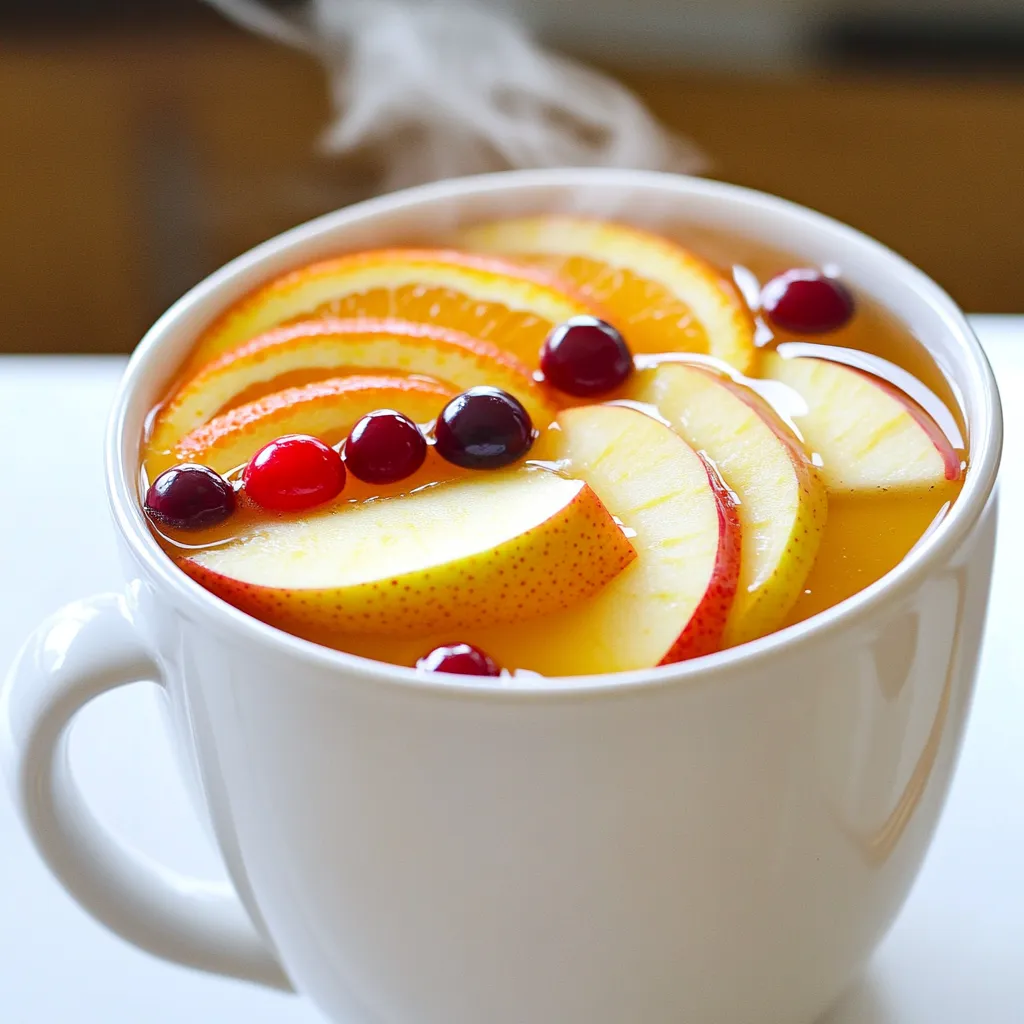
Warm up your gatherings with my Spiced Apple Cider Punch! This festive drink bursts with cozy flavors, perfect for chilly

Are you ready for a dish that’s both quick and comforting? Minute Creamy Parmesan Orzo is your answer! This recipe
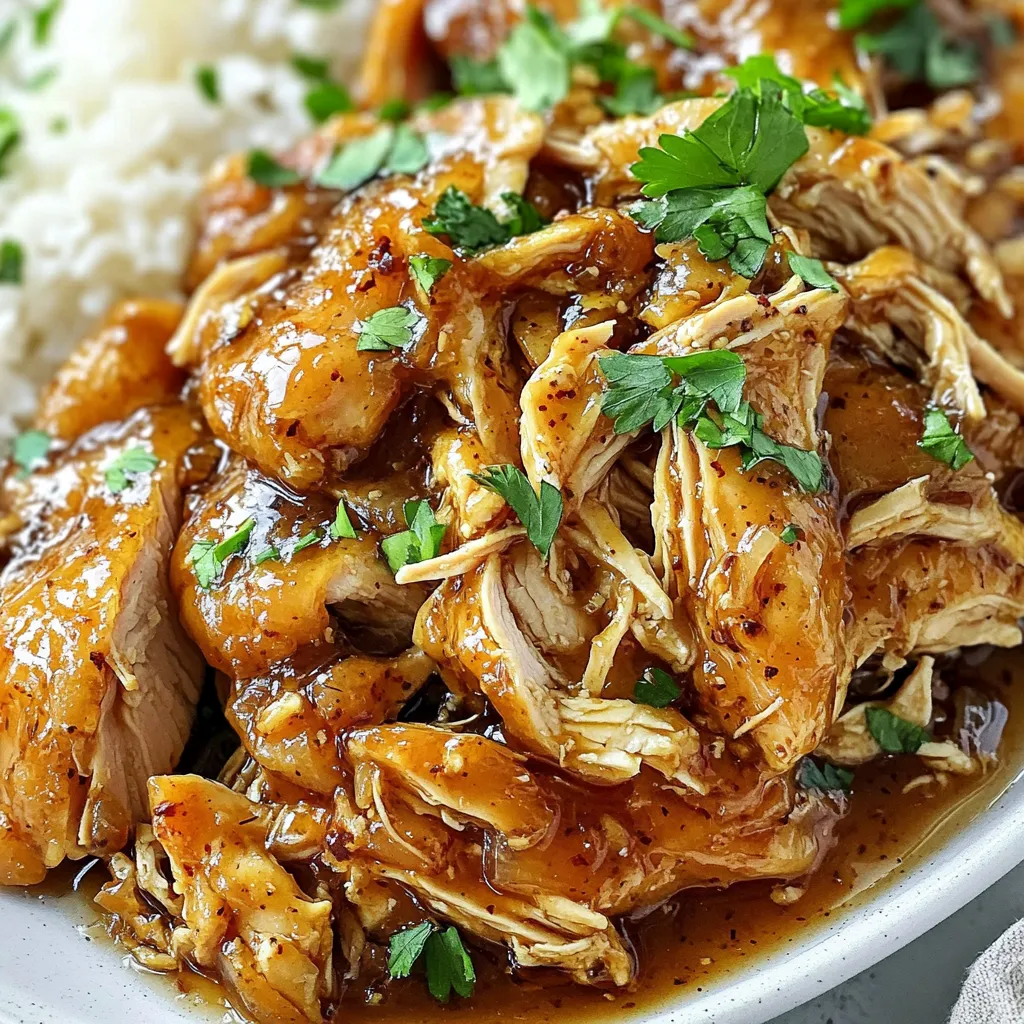
If you’re looking for an easy dinner that bursts with flavor, you’ve found it! Slow Cooker Honey Garlic Shredded Chicken
