
Air Fryer Sweet Potato Fries Crispy and Flavorful Treat
Are you ready to enjoy a crispy and flavorful treat? Air fryer sweet potato fries are easy to make and
Are you ready to enjoy a crispy and flavorful treat? Air fryer sweet potato fries are easy to make and

Are you ready to impress your guests with a simple yet delightful appetizer? The Rosemary Cranberry Goat Cheese Log is

Craving a quick and tasty dinner? You’re in the right place! My Easy Chicken Lo Mein recipe is simple, flavorful,

Craving a sweet, tangy treat? Dive into the world of Strawberry Lemonade Cupcakes! These delightful cupcakes blend fresh strawberries and
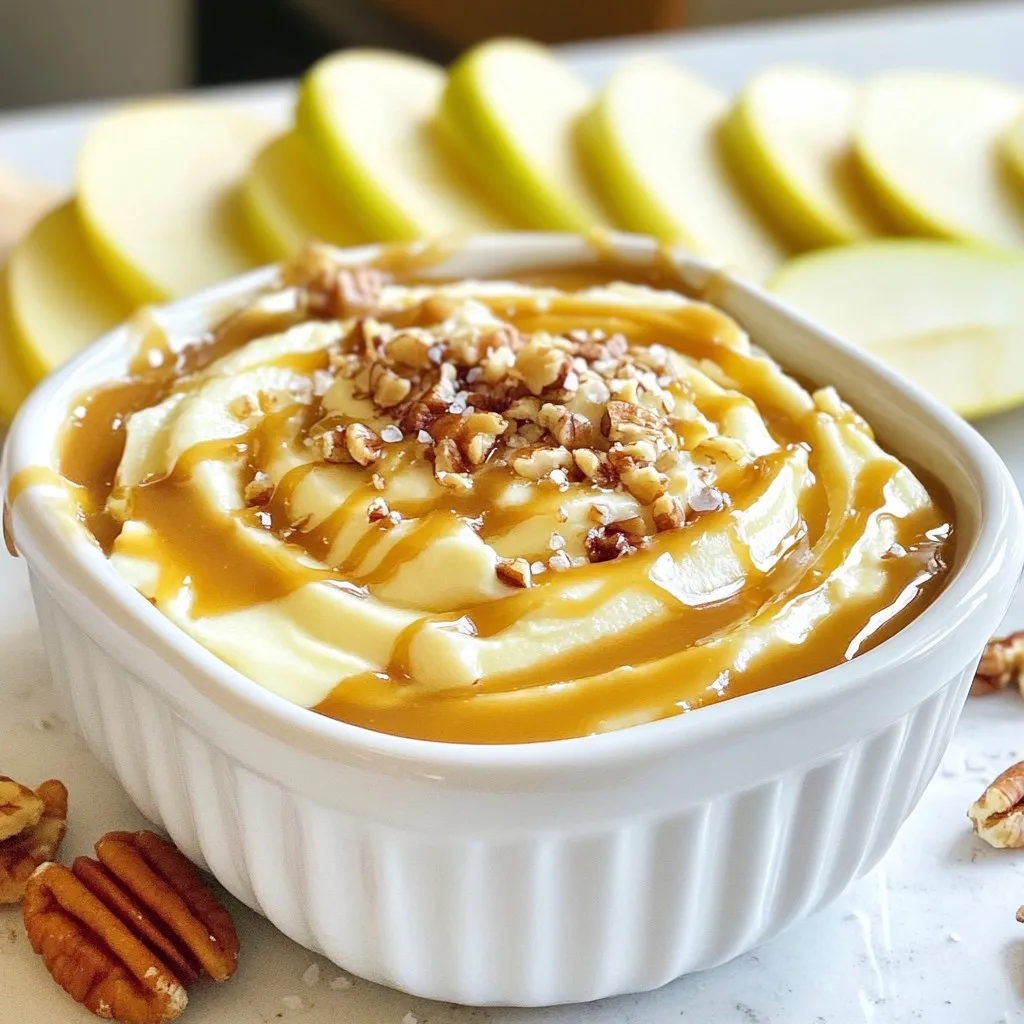
If you’re looking for a tasty treat that combines sweet and salty, you’re in for a delight! This Salted Caramel
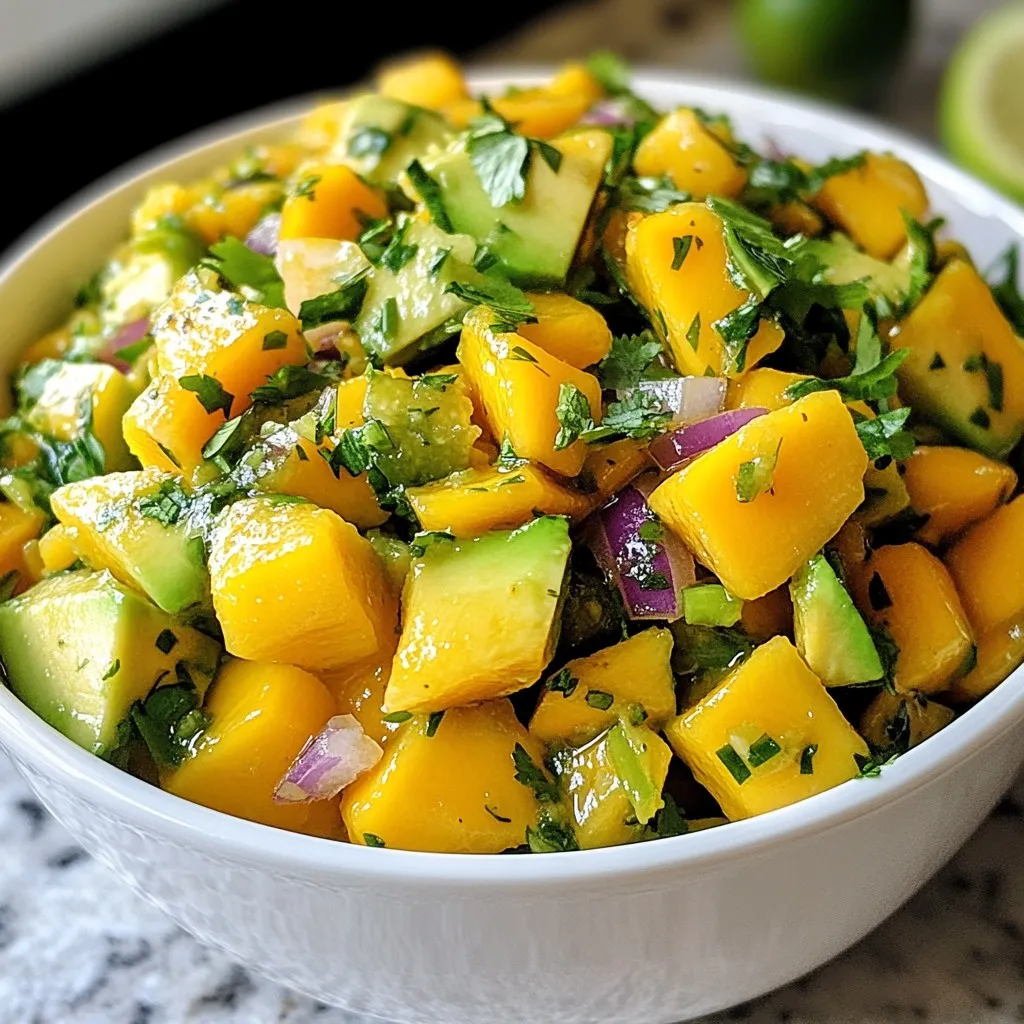
Want a fresh and tasty dish that excites your taste buds? You’ll love this Mango Avocado Salsa! With just a

Are you ready to transform your cooking game with a simple yet delicious dish? This Crispy Baked Eggplant recipe is

Craving a sweet, creamy treat that’s easy to make? These No-Bake Oreo Cheesecake Cups are perfect for you! With just

Are you ready for a tasty twist on taco night? Buffalo cauliflower tacos are here to spice things up! Packed
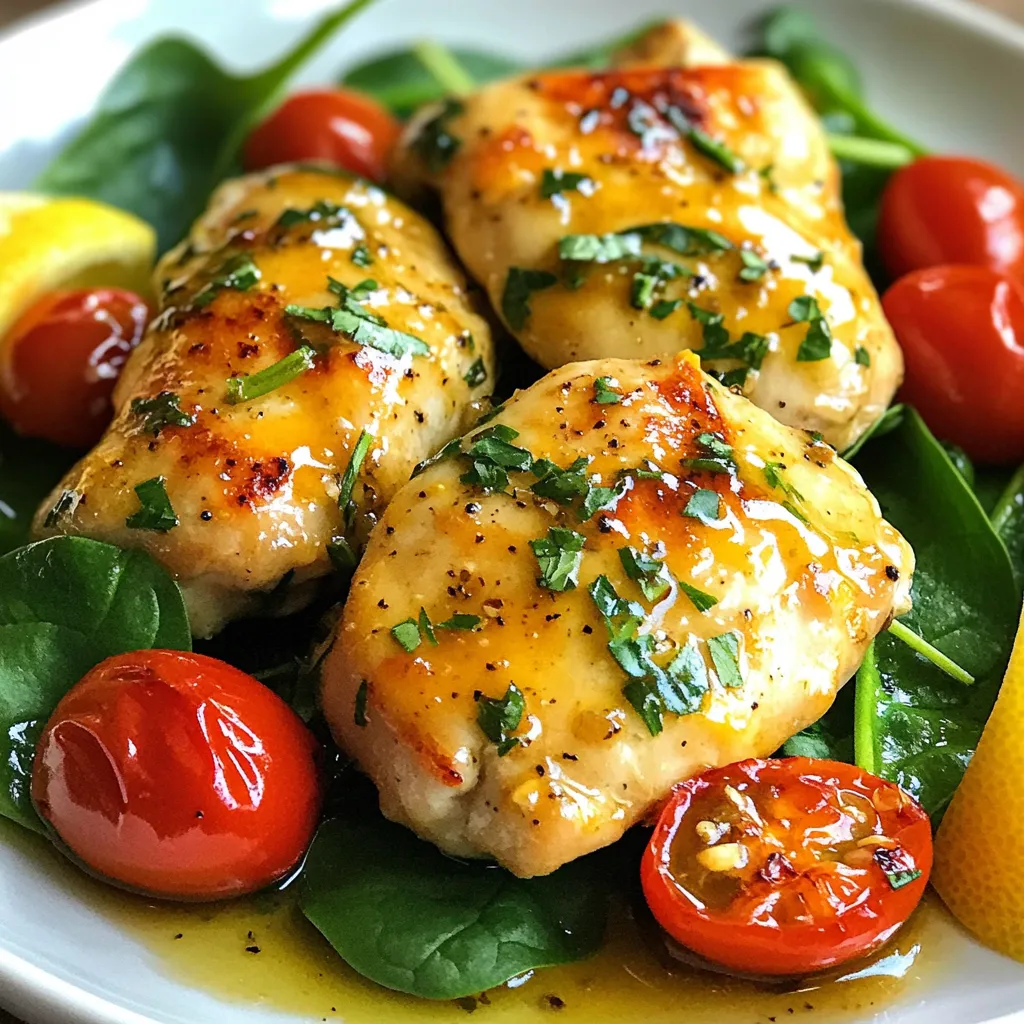
Looking for a simple, tasty dinner? One Pan Lemon Herb Chicken is your answer! This dish brings vibrant flavors and
