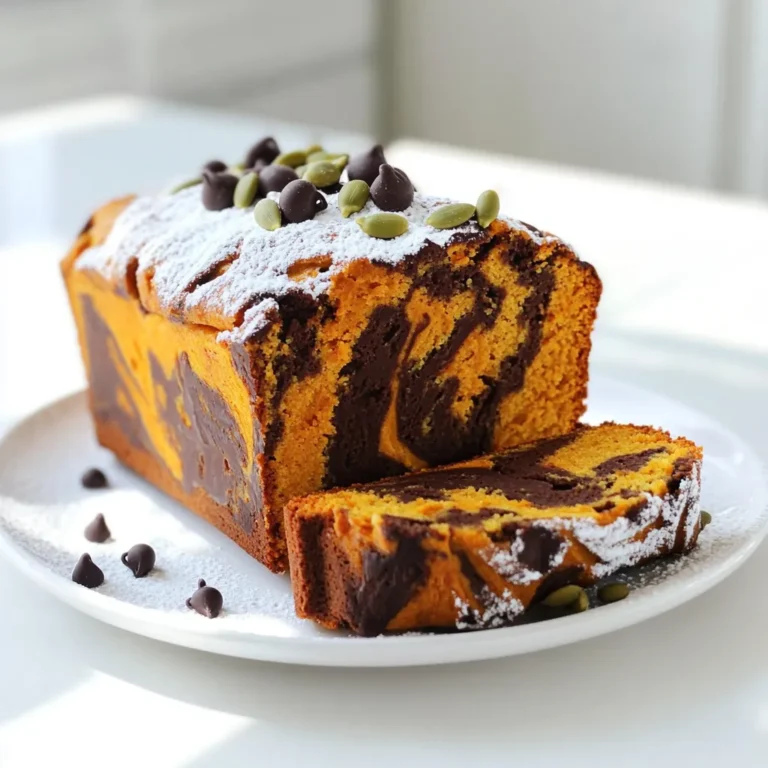

Are you ready to bake something special? My Pumpkin Chocolate Marble Loaf is a fun treat that mixes warm pumpkin and rich chocolate in one delicious loaf. It’s moist, flavorful, and easy to make, perfect for any occasion. In this post, I’ll guide you through every step, share tips for success, and even offer tasty variations. Let’s dive into this irresistible recipe and fill your kitchen with sweet scents!
Ingredients
Essential Ingredients for Pumpkin Chocolate Marble Loaf
To make a great Pumpkin Chocolate Marble Loaf, gather these key ingredients:
– 1 cup pumpkin puree
– 1/2 cup unsweetened applesauce
– 3/4 cup brown sugar
– 1/2 cup granulated sugar
– 1/3 cup vegetable oil
– 2 large eggs
– 1 teaspoon vanilla extract
– 1 1/2 cups all-purpose flour
– 1 teaspoon baking soda
– 1/2 teaspoon baking powder
– 1 teaspoon ground cinnamon
– 1/2 teaspoon ground nutmeg
– 1/4 teaspoon ground ginger
– 1/4 teaspoon salt
– 1/2 cup unsweetened cocoa powder
– 1/2 cup chocolate chips (optional)
These ingredients blend perfectly to create a rich and moist loaf. The pumpkin gives a lovely flavor, while the cocoa adds a sweet touch.
Optional Add-ins and Substitutes
You can customize your loaf with these options:
– Nuts: Add walnuts or pecans for crunch.
– Spices: Try adding cloves or allspice for more warmth.
– Dairy: Substitute applesauce with yogurt for a creamier texture.
– Sweeteners: Use maple syrup instead of brown sugar for different sweetness.
These add-ins change the flavor and texture, making the loaf unique every time.
Measuring Tips for Accurate Baking
Measuring correctly ensures your loaf turns out great. Follow these tips:
– Use measuring cups: For dry ingredients, use a spoon to fill the cup.
– Level off: Use a knife to scrape excess off the top.
– Liquid measuring cups: Fill to the line and check at eye level.
– Egg sizes: Use large eggs, as other sizes can affect the mix.
Accurate measuring leads to a perfect bake. Enjoy your time in the kitchen!
Step-by-Step Instructions
Preparing Your Oven and Loaf Pan
Start by preheating your oven to 350°F (175°C). This temperature helps the loaf bake evenly. Grease a 9×5-inch loaf pan with butter or cooking spray. This step keeps the loaf from sticking. Set the pan aside while you mix the batter.
Mixing Wet Ingredients for Moisture
In a large mixing bowl, add the pumpkin puree and unsweetened applesauce. These ingredients bring moisture and flavor. Next, add brown sugar and granulated sugar. The sugars give a sweet taste and a lovely color. Pour in the vegetable oil, then crack in two large eggs. Add one teaspoon of vanilla extract for extra flavor. Mix everything until it’s smooth and well combined. This mixture should look creamy and thick.
Combining Dry Ingredients for Flavor
In another bowl, whisk together the all-purpose flour, baking soda, and baking powder. This blend helps the loaf rise well. Add ground cinnamon, nutmeg, ginger, and salt to enhance the flavor. Each spice adds warmth to the loaf. Slowly add this dry mix to your wet mixture. Stir gently until just combined. Be careful not to over-mix; lumps are okay. This step keeps the loaf soft and fluffy.
Tips & Tricks
Achieving the Perfect Marble Effect
To create a beautiful marble effect, you need to layer the batters. Start with a spoonful of pumpkin batter in the center of the loaf pan. Then add a spoonful of chocolate batter on top. Repeat this until both batters are used. After that, take a knife or skewer and gently swirl the two batters together. Don’t overmix! You want to see both colors. This makes the loaf look stunning when sliced.
Testing for Doneness
To check if your loaf is done, use a toothpick. Insert it into the center of the loaf. If it comes out clean, your loaf is ready. If you see wet batter, bake it a bit longer. Ovens can vary, so keep an eye on it. It should bake for 55 to 65 minutes.
Cooling and Slicing Tips
Once baked, let the loaf cool in the pan for about 10 minutes. This helps it firm up. Then, turn it out onto a wire rack. Let it cool completely before slicing. This prevents the loaf from crumbling. For neat slices, use a serrated knife. Enjoy your beautiful pumpkin chocolate marble loaf!

Variations
Gluten-Free Pumpkin Chocolate Marble Loaf
You can make this loaf gluten-free easily. Use a gluten-free flour blend. Make sure it contains xanthan gum for the best texture. Follow the same mixing steps as the original recipe. The flavors remain rich and delicious. You won’t miss the gluten at all!
Vegan Options for the Recipe
To make this loaf vegan, swap the eggs for flax eggs. Mix one tablespoon of flaxseed meal with three tablespoons of water. Let it sit for five minutes to thicken. Use plant-based oils and sugars, too. Applesauce can replace the eggs, keeping it moist and sweet.
Flavor Enhancements and Additions
Add extra spices for a flavor boost. Try cardamom or allspice for a unique twist. Nuts like walnuts or pecans add crunch and warmth. You can also fold in dried fruits like cranberries for a sweet surprise. Want more chocolate? Toss in some chocolate chips to the batter. Each variation brings a new taste adventure!
Storage Info
How to Store Leftover Loaf
Once your pumpkin chocolate marble loaf cools, slice it for easy storage. Use an airtight container to keep the loaf fresh. You can also wrap it tightly in plastic wrap. Store it at room temperature for up to three days. If you want to keep it longer, the fridge is a good option. However, the loaf can dry out in the fridge, so let it warm up before serving.
Freezing Instructions for Longer Storage
To freeze your loaf, first slice it into portions. Wrap each slice in plastic wrap. Then, place the wrapped slices in a freezer-safe bag or container. Make sure to label it with the date. You can freeze the loaf for up to three months. When you’re ready to enjoy a slice, simply thaw it in the fridge overnight. For a quick treat, you can also microwave a slice for 15-30 seconds.
Shelf Life and Best Practices
The shelf life of your pumpkin chocolate marble loaf can vary based on storage. When kept properly at room temperature, it lasts about three days. In the fridge, it may last about a week. For the best taste, enjoy your loaf within the first few days. Always check for any signs of spoilage, like mold or an off smell, before eating. Keeping your loaf covered will help maintain its moisture and flavor.
FAQs
Can I use fresh pumpkin instead of canned?
Yes, you can use fresh pumpkin. Start by roasting a small pumpkin. Cut it in half, scoop out the seeds, and bake it face down at 350°F (175°C) for about 45 minutes. Once it cools, mash the flesh until smooth. Fresh pumpkin may add a richer flavor, but make sure to drain excess moisture. This will help the loaf stay fluffy.
How can I make the loaf less sweet?
To reduce the sweetness, cut back on sugars. You can use just 1/2 cup of brown sugar. Another option is to swap the applesauce with plain yogurt. This will keep the loaf moist while lowering the sugar. You can also add more spices like cinnamon and nutmeg to enhance the flavor without adding sweetness.
What can I substitute for eggs?
If you need an egg substitute, try using flaxseed meal. Mix 1 tablespoon of flaxseed with 2.5 tablespoons of water. Let it sit for about 5 minutes until it thickens. You can also use a banana or applesauce. One medium banana or 1/4 cup of applesauce works well in this recipe. Both options will keep your loaf moist and tasty!
This recipe guide shows you how to make a tasty pumpkin chocolate marble loaf. You learned about the key ingredients and optional add-ins. Measuring tips help you bake more accurately.
The step-by-step instructions simplify the mixing and baking process. Tips and tricks make sure your marble loaf looks great and tastes even better. Plus, variations for gluten-free and vegan options let everyone enjoy it.
Store leftovers properly to keep them fresh. Remember, knowing how to ask questions can enhance your baking skills. Happy baking!

