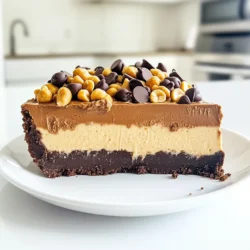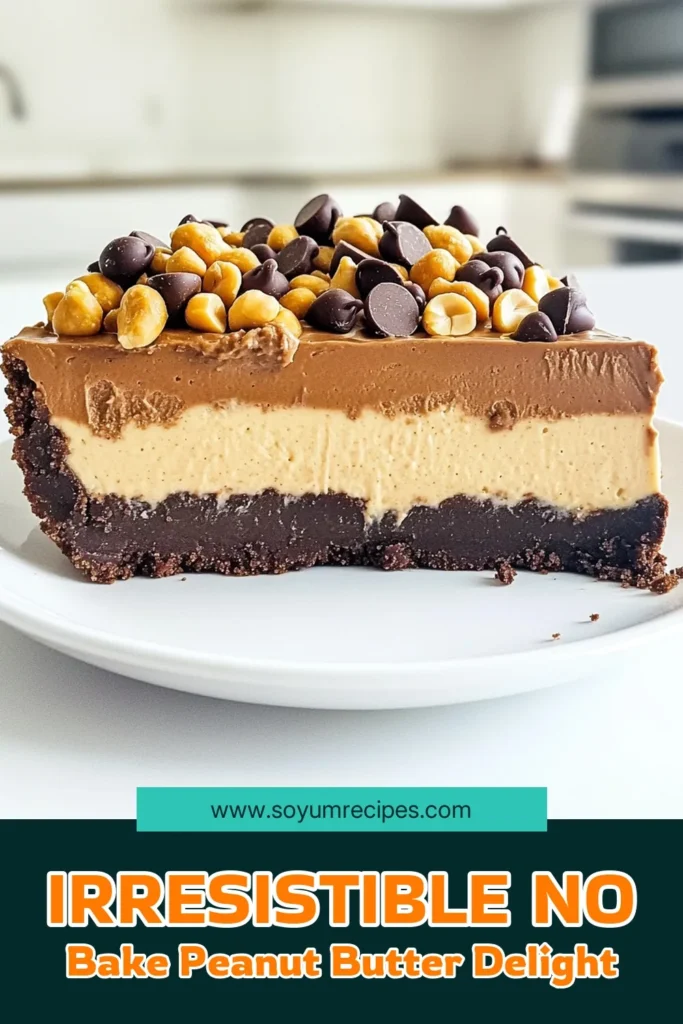
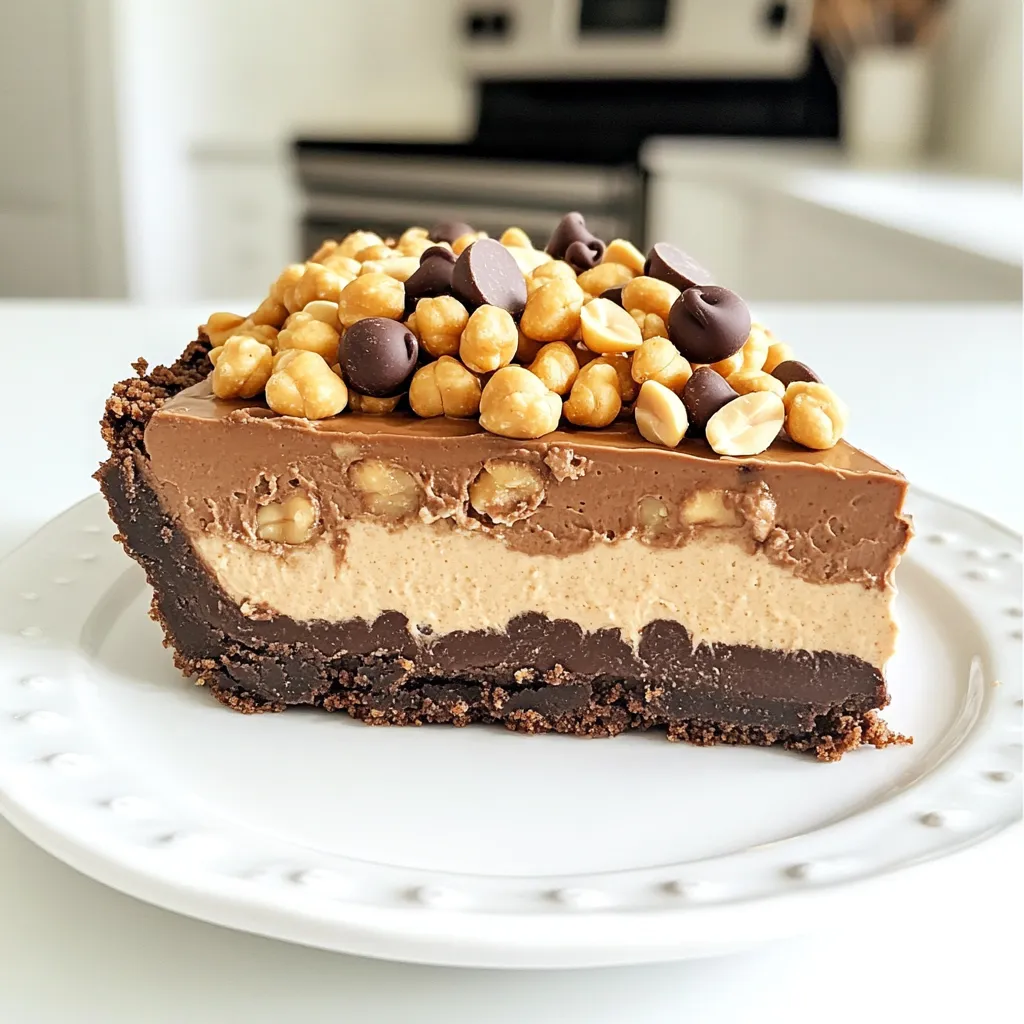
Are you ready to dive into a dessert that’s rich, creamy, and totally irresistible? My Chocolate Peanut Butter Cheesecake No Bake Delight is perfect for any occasion. You get the luscious taste of chocolate and the nutty goodness of peanut butter, all without turning on the oven! Join me as we explore the easy steps, tips, and tricks to make this smooth, dreamy cheesecake. Your taste buds will thank you!
Ingredients
List of Ingredients
– 1 ½ cups chocolate graham cracker crumbs
– ½ cup unsalted butter, melted
– 1 cup cream cheese, softened
– 1 cup creamy peanut butter
– ¾ cup powdered sugar
– 1 teaspoon vanilla extract
– 1 cup heavy whipping cream
– ½ cup semi-sweet chocolate chips (for topping)
– ¼ cup chopped peanuts (for garnish)
Special Notes on Ingredients
Using fresh cream cheese is key. It helps create a smooth filling. Softened cream cheese blends better with peanut butter. Make sure to leave it at room temperature for about an hour before mixing. The chocolate graham crackers give a rich taste. If you can’t find them, regular graham crackers work too, but the flavor will change.
Heavy whipping cream adds fluffiness. Whipping it until stiff peaks form makes the cheesecake light. Remember to fold the whipped cream gently into the filling. This keeps the texture airy.
Substitutions for Dietary Preferences
For a dairy-free option, try using vegan cream cheese and coconut cream. They work well in this recipe. If you prefer a lower sugar option, use a sugar substitute in place of powdered sugar. Just ensure it measures the same.
For a gluten-free version, check that your graham crackers are gluten-free. Many brands now offer gluten-free options. You can also use crushed nuts or oats for the crust. This way, you can still enjoy the deliciousness without gluten.
Feel free to mix and match based on your needs. Cooking should be fun and fit your style!
Step-by-Step Instructions
Preparation Steps
1. Start by mixing 1 ½ cups of chocolate graham cracker crumbs with ½ cup of melted unsalted butter in a medium bowl. This blend should look like wet sand.
2. Next, press this crumb mix firmly into the bottom of a 9-inch springform pan. This forms your cheesecake crust. Chill it in the freezer while you make the filling.
3. In a large bowl, beat together 1 cup of softened cream cheese and 1 cup of creamy peanut butter until smooth. This mix should be well combined.
4. Gradually add in ¾ cup of powdered sugar and 1 teaspoon of vanilla extract. Keep mixing until everything is creamy and smooth.
5. Now, whip 1 cup of heavy cream in a separate bowl until stiff peaks form. This gives your cheesecake a light texture.
6. Gently fold the whipped cream into the peanut butter mix until combined. Be careful not to deflate the whipped cream.
7. Pour this cheesecake filling onto the chilled crust. Use a spatula to smooth the top.
8. Sprinkle ½ cup of semi-sweet chocolate chips evenly over the filling.
9. Cover the cheesecake with plastic wrap and refrigerate it for at least 4 hours. For the best taste and texture, let it set overnight.
Cooling and Setting Guidelines
After chilling, check if the cheesecake has set properly. It should feel firm to the touch. If not, give it more time in the fridge. The longer it sits, the better the flavor melds together.
Tips for Serving and Presentation
When serving, carefully remove the springform pan. Garnish with ¼ cup of chopped peanuts for a crunchy touch. For a fun presentation, drizzle melted chocolate over each slice. You can also add whipped cream and chocolate shavings on top for extra flair. Serve slices on individual plates for a nice look. Enjoy your treat!
Tips & Tricks
Common Mistakes to Avoid
When making this cheesecake, avoid over-mixing the filling. This can make it too thin. Also, don’t skip chilling the crust. It needs to be firm before adding the filling. Be sure to fold the whipped cream gently. If you mix too hard, the cream can lose its fluffiness.
Secrets to a Creamy Texture
To keep your cheesecake creamy, use softened cream cheese. Cold cream cheese won’t blend well. Make sure to whip the heavy cream until it forms stiff peaks. This adds volume and lightness to the filling. Mixing the whipped cream in a few parts helps maintain that airy texture.
How to Achieve the Best Flavor
For rich flavor, use high-quality peanut butter. Natural varieties work best. Adding vanilla extract enhances the taste, making it more complex. Letting the cheesecake chill overnight is key. This time allows the flavors to meld and deepen. You can also drizzle melted chocolate on top for extra sweetness.
Variations
Additional Toppings Ideas
You can take your cheesecake to the next level with fun toppings. Try adding:
– Fresh strawberries or raspberries
– Crushed Oreos for added crunch
– A drizzle of caramel sauce
– Shaved chocolate or chocolate curls
– A sprinkle of sea salt for contrast
These toppings not only add flavor but also make your dessert look amazing.
Flavor Variations (e.g., different nut butters)
Switching up nut butters can create new taste experiences. Use:
– Almond butter for a nutty twist
– Cashew butter for a creamy flavor
– Sunflower seed butter for a nut-free option
– Nutella for a chocolate-hazelnut blend
Each choice brings a unique flavor to your cheesecake.
Gluten-Free Options
If you need a gluten-free version, swap the chocolate graham cracker crumbs. Use:
– Gluten-free cookie crumbs
– Ground almonds or oats for the crust
– Crushed gluten-free pretzels for a salty touch
These options keep the dessert delicious while meeting dietary needs.
Storage Info
Best Practices for Storing Leftovers
To keep your chocolate peanut butter cheesecake fresh, wrap it tightly. Use plastic wrap or foil. You can also store it in an airtight container. This keeps out air and moisture, which helps maintain flavor. If you want to save slices, cut them first. Then, wrap each slice separately. This makes it easy to grab a piece later.
Freezing Instructions
You can freeze this cheesecake if you have leftovers. First, let it chill completely in the fridge. Once set, remove it from the springform pan. Wrap it well in plastic wrap, then foil. This protects it from freezer burn. You can freeze it for up to three months. When you are ready to eat it, thaw it in the fridge overnight.
How Long Will It Last in the Fridge?
In the fridge, the cheesecake will stay fresh for about five days. Make sure to cover it well. The longer it sits, the more the flavors blend. It tastes great even on the last day! Just remember to check for any signs of spoilage before enjoying your treat.
FAQs
Can I use a regular cheesecake crust?
Yes, you can use a regular cheesecake crust. A classic graham cracker crust works well. If you prefer, you might try a cookie crust too. Just make sure to press it firmly. This helps keep the cheesecake from falling apart.
How do I fix a crust that’s too crumbly?
If your crust is too crumbly, add more melted butter. Start with a tablespoon at a time. Mix it in well. The crust should feel moist and hold together when pressed. If it still crumbles, you may need to add a bit more crumbs.
Can this cheesecake be made ahead of time?
Absolutely! This cheesecake is perfect for making ahead. You can prepare it a day or two in advance. Just keep it covered in the fridge. It will taste even better after chilling, as flavors blend nicely.
Is it possible to make this recipe without cream cheese?
Yes, you can make this cheesecake without cream cheese. Try using silken tofu or a dairy-free cream cheese instead. Both options will give a creamy texture. Just blend them well with the peanut butter for a smooth filling.
In this post, I covered the key ingredients and step-by-step instructions for making your cheesecake. I shared tips on achieving a creamy texture and avoiding common mistakes. You learned about fun variations, toppings, and storage methods to keep it fresh. Remember, a few simple changes can enhance flavor and texture. Now, it’s your turn. Dive into your cheesecake adventure, and enjoy every bite you create!