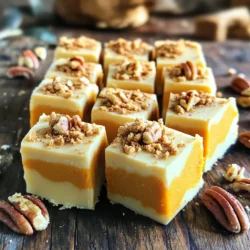
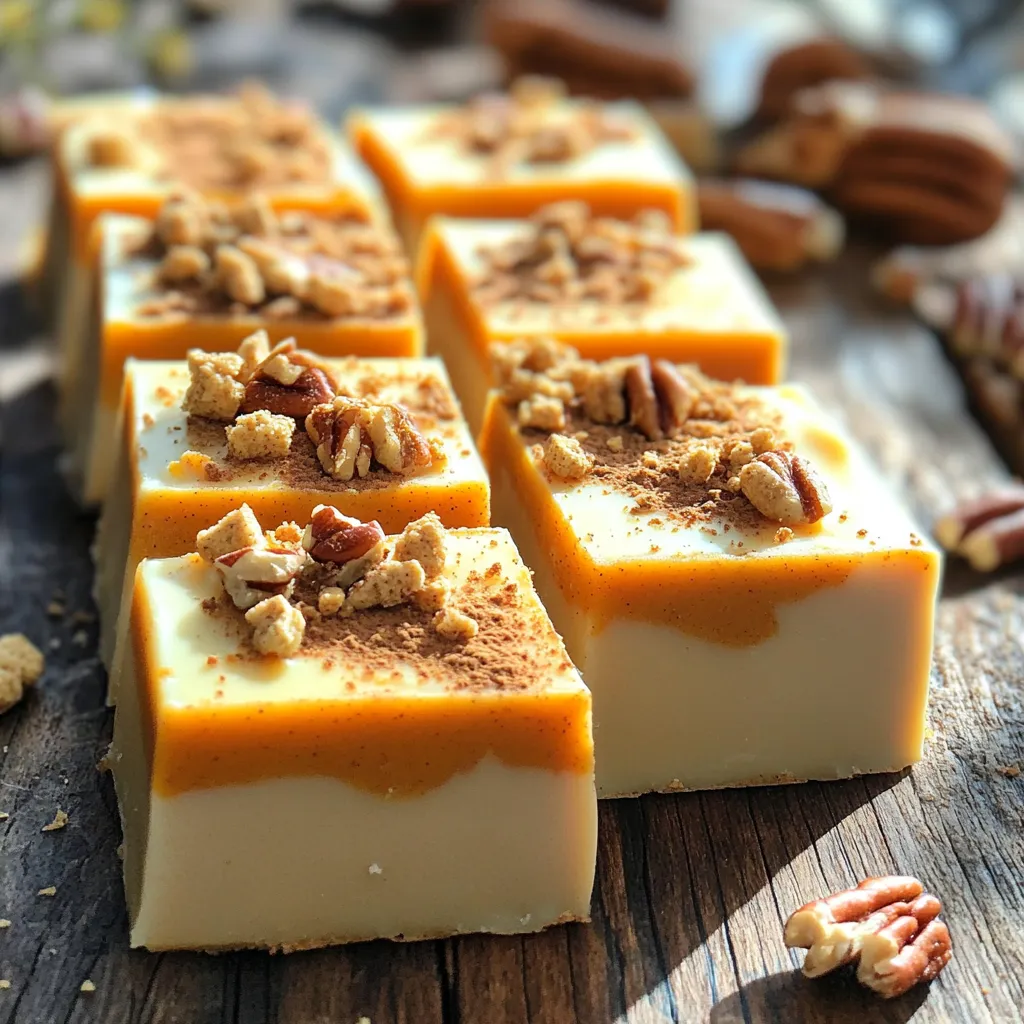
Get ready for a sweet treat this fall! My No-Bake White Chocolate Pumpkin Fudge is easy and delicious. With creamy white chocolate, rich pumpkin, and warm spices, this fudge is the perfect way to celebrate the season. You won’t even need an oven! Follow my simple steps to create a creamy delight that your friends and family will love. Let’s dive into the tasty details and get started!
Ingredients
List of Key Ingredients
– 1 cup pumpkin puree
– 2 cups white chocolate chips
– 1 cup sweetened condensed milk
– 1 teaspoon vanilla extract
– 1 teaspoon pumpkin pie spice
– 1/4 teaspoon salt
The main ingredients bring rich flavor and creamy texture. Pumpkin puree adds warmth and moisture. White chocolate chips give sweetness and a smooth finish. Sweetened condensed milk binds the mix together. Vanilla extract adds depth, while pumpkin pie spice gives that classic fall taste. A pinch of salt balances the sweetness.
Optional Ingredients
– 1/2 cup crushed graham crackers
– Chopped pecans or walnuts for garnish
You can add crushed graham crackers for crunch. They bring a delightful texture contrast to the creamy fudge. Chopped nuts, like pecans or walnuts, make a nice topping. They add a bit of chew and extra flavor. Plus, they look great on top!
Step-by-Step Instructions
Melting the Chocolate
First, grab a medium microwave-safe bowl. In this bowl, combine 2 cups of white chocolate chips and 1 cup of sweetened condensed milk. This mix is key for smooth fudge. Microwave it in 30-second bursts. Stir the mixture after each burst. This will help it melt evenly. It will take about 1 to 2 minutes until smooth and creamy.
Mixing Ingredients
Once the chocolate is melted, it’s time to add flavor. Stir in 1 cup of pumpkin puree, 1 teaspoon of vanilla extract, 1 teaspoon of pumpkin pie spice, and 1/4 teaspoon of salt. Mix until everything is well combined. If you want some crunch, fold in 1/2 cup of crushed graham crackers. This step adds a fun texture!
Preparing the Dish
Next, prepare your baking dish. Line an 8×8-inch square dish with parchment paper. Leave some paper hanging over the sides. This makes it easy to lift the fudge out later. Pour the fudge mixture into the dish. Use a spatula to spread it out evenly. Make sure the top is smooth.
Refrigeration Process
Now it’s time for the fudge to set. Place the dish in the fridge for at least 4 hours. This time helps the fudge firm up. To check if it’s ready, gently press the top with your finger. If it feels firm, it’s ready to eat. Enjoy your delicious no-bake fudge!
Tips & Tricks
Best Practices for Smooth Fudge
To make smooth fudge, you need to avoid lumps in the mixture. Start by melting the white chocolate chips and sweetened condensed milk together. Microwave them in 30-second bursts. Stir well between each burst. This method helps ensure the chocolate is fully melted. Once melted, your mixture should be smooth and creamy.
Customization Tips
You can add fun flavor variations to your fudge. Try mixing in spices like cinnamon or nutmeg for a warm taste. You can also add extracts like almond or maple for a unique twist. If you enjoy nuts, consider folding in chopped pecans or walnuts. They add a nice crunch and flavor to the fudge.
Presentation Ideas
To make your fudge look great, you can garnish it with chopped nuts on top. This adds a nice touch both in taste and appearance. For serving, cut the fudge into small squares. Arrange them on a pretty plate. You can even wrap them in cute packaging for gifts. This makes your fudge not just tasty, but also visually appealing!
Variations
Flavored Fudge Options
You can easily switch up the flavor of this fudge. Try adding maple syrup for a sweet twist. Mix in a teaspoon of cinnamon for a warm spice note. If you love chocolate, swap some white chocolate chips for semi-sweet ones. This gives a rich, deep flavor to your fudge.
Dietary Adjustments
Want to make this fudge vegan? Use dairy-free white chocolate chips and coconut milk. You can find these at most grocery stores. For a gluten-free treat, skip the graham crackers or use gluten-free ones. This way, everyone can enjoy this tasty fudge.
Seasonal Additions
Fall is the perfect time to add other seasonal flavors. Try mixing in caramel for extra sweetness. You can also add chopped apples for a fruity crunch. These additions make your fudge even more special and festive.
Storage Info
Storing the Fudge
To keep your fudge fresh, use an airtight container. A glass or plastic container works well. Make sure the fudge is fully cooled before storing. Keep it in the fridge. This helps it stay firm and tasty.
Shelf Life
This fudge can stay fresh for about 1 to 2 weeks. If you see any signs of mold, or if it smells off, toss it out. Fudge can dry out over time, so check for any hard edges or cracks.
Freezing Instructions
To freeze the fudge, cut it into squares and wrap each piece tightly in plastic wrap. Place them in a freezer-safe bag or container. This way, you can enjoy it later! When you’re ready to eat it, thaw the fudge in the fridge overnight for the best texture. Don’t rush it by using heat. This keeps the creaminess intact.
FAQs
Can I use milk chocolate instead of white chocolate?
Yes, you can use milk chocolate. It will change the taste and color of the fudge. Milk chocolate adds a creamier and sweeter flavor. However, it may not blend as well with pumpkin. The fudge will also be darker. White chocolate provides a nice contrast with the pumpkin.
How can I make this fudge vegan?
To make this fudge vegan, substitute a few key ingredients. Use dark chocolate chips or dairy-free white chocolate. Replace sweetened condensed milk with coconut milk and a bit of sugar. You can also skip the butter for a plant-based option. These swaps help keep the fudge creamy and tasty.
Is it possible to make this recipe without pumpkin puree?
Yes, you can. Try using mashed banana or applesauce for a fruity twist. These alternatives will change the flavor but still provide moisture. You could also use butternut squash puree for a similar taste. Just remember, the texture may differ a bit from the original recipe.
This blog post covered all you need for making delicious pumpkin fudge. You learned about key and optional ingredients, easy instructions, and helpful tips. Customize your fudge with flavors and nuts, and explore seasonal ingredients. Remember to store your fudge properly to enjoy it longer. With these steps and ideas, you’ll create a treat that everyone will love. Dive in and make your perfect batch today!