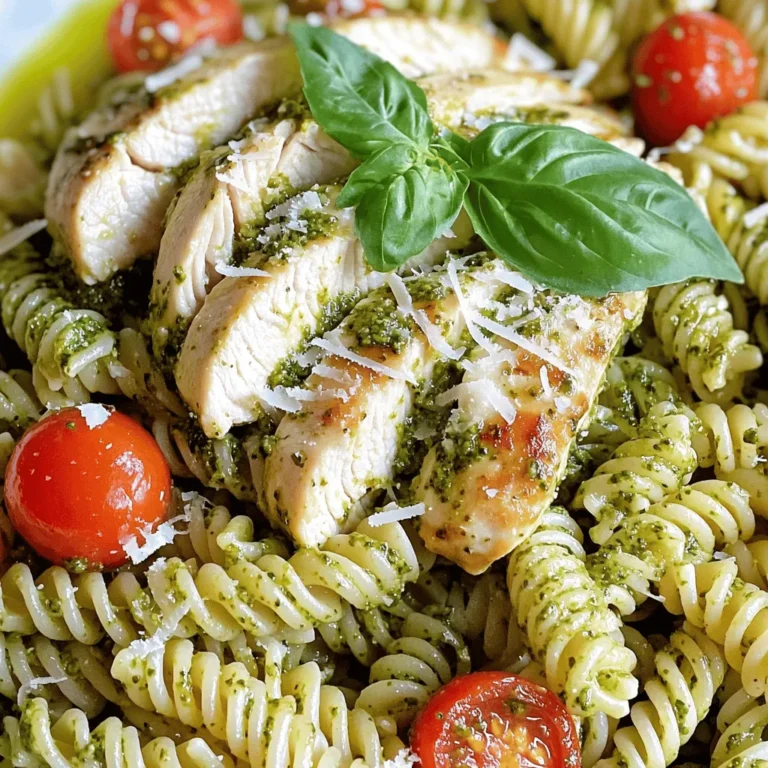
Looking for a quick and tasty dinner idea? This Pesto Chicken Pasta is your answer! With simple ingredients like juicy chicken, vibrant pesto, and tender pasta, you can create a flavorful meal in no time. Whether you’re busy on a weeknight or having friends over, this dish will impress. Read on to discover easy steps, tips, and variations that make it perfect for your table!
Ingredients
Main Ingredients
– 2 boneless, skinless chicken breasts
– 2 cups uncooked pasta (fusilli or penne)
– 1 cup basil pesto (homemade or store-bought)
Additional Ingredients
– 1 cup cherry tomatoes, halved
– 1/2 cup grated Parmesan cheese
– 2 tablespoons olive oil
– 2 cloves garlic, minced
– Salt and pepper to taste
– Fresh basil leaves for garnish
Gathering fresh ingredients is key. I love using ripe cherry tomatoes. They add sweetness and color. If you have homemade pesto, use it! It brings a personal touch to your meal. The chicken breasts should be plump and fresh. Seasoning with salt and pepper brings out their flavor. The olive oil will help in cooking the chicken evenly.
Parmesan cheese adds a rich taste at the end. Fresh basil leaves make a lovely garnish. You can also add them to the pasta for more flavor. This mix of ingredients makes Pesto Chicken Pasta both easy and delightful.
Step-by-Step Instructions
Preparing the Pasta
To start, bring a large pot of salted water to a boil. This helps the pasta taste great. Add 2 cups of uncooked pasta, like fusilli or penne. Cook according to the package directions until it is al dente, which means it should still have a bit of bite. Once done, drain the pasta but save a bit of that pasta water. This water can help make your sauce creamy later.
Cooking the Chicken
Next, take 2 boneless, skinless chicken breasts. Season both sides with salt and pepper. In a large skillet, heat 2 tablespoons of olive oil over medium heat. Place the chicken in the skillet and cook for about 5-7 minutes on each side. You want the chicken to turn golden brown and cook all the way through. Once it’s done, take it out and let it rest for a few minutes. Then, slice the chicken into thin strips.
Combining the Dish
Now, let’s bring it all together! In the same skillet, add 2 cloves of minced garlic. Sauté it for about 30 seconds until you smell that yummy aroma. Be careful not to burn it! Then, toss in 1 cup of halved cherry tomatoes. Cook them for 2-3 minutes until they start to soften.
After that, mix in the cooked pasta and 1 cup of basil pesto. Stir well, and if the sauce seems too thick, add a bit of the reserved pasta water, one tablespoon at a time. This helps everything blend nicely. Finally, add the sliced chicken back into the skillet and sprinkle with 1/2 cup of grated Parmesan cheese. Stir everything together and taste. Adjust the seasoning with more salt and pepper if needed.
Now you have a beautiful and tasty dish!
Tips & Tricks
Perfecting the Chicken
To get golden-brown chicken, heat olive oil in a skillet over medium heat. Make sure the oil is hot before adding the chicken. This helps create a nice crust. Cook each side for about 5-7 minutes. You want it to reach a safe internal temperature of 165°F (75°C).
To keep chicken juicy, don’t rush the resting time. After cooking, let it sit for a few minutes before slicing. This allows the juices to redistribute, keeping your chicken moist and tender.
Enhancing the Flavor
To boost flavor, consider adding a pinch of red pepper flakes or lemon zest. These small tweaks can elevate your dish significantly. You may also sprinkle in some dried herbs, like oregano or thyme, for extra depth.
Adjusting the pesto quantity is simple. If you love the taste, feel free to add more.
Serving Suggestions
For side dishes, garlic bread or a light salad pairs well with Pesto Chicken Pasta. Both add freshness and balance to the meal. If you want something warm, roasted vegetables are also a great choice.
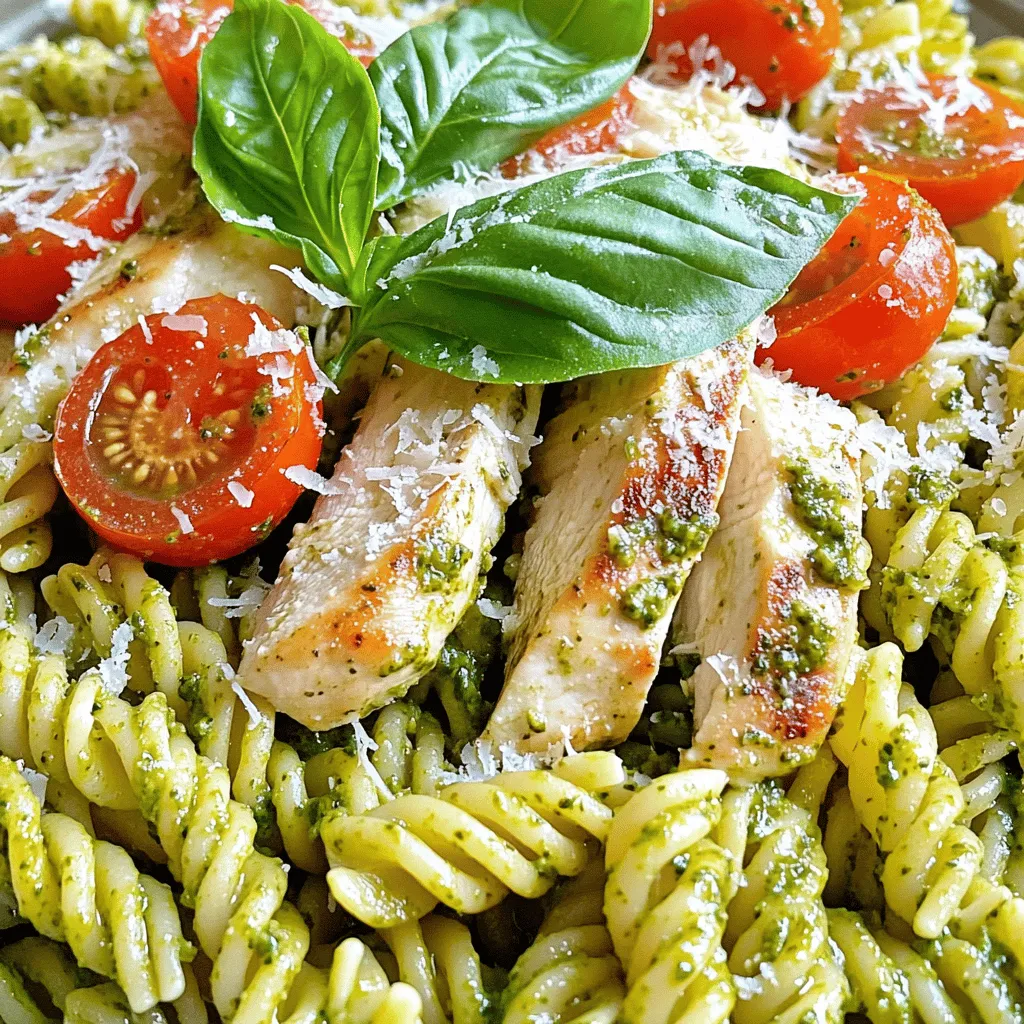
To make your dish look nice, plate the pasta in a shallow bowl. Add sliced chicken on top and sprinkle with Parmesan cheese. Finish with fresh basil leaves for a pop of color. This makes your meal not only tasty but also visually appealing.
Variations
Ingredient Substitutions
You can change the chicken in many ways. Shrimp works great, too. It cooks fast and adds a nice flavor. Tofu is a good option for vegans. It absorbs flavors well, making it tasty. You can also try different pasta shapes. Fusilli and penne are popular, but spaghetti or farfalle can work too. Each type gives a new twist to your dish.
Flavor Twists
Adding vegetables can boost your meal. Spinach is a simple choice. It cooks down nicely and adds nutrients. Bell peppers bring a sweet crunch. You can toss them in while cooking the chicken. For another twist, play with different pesto flavors. Sun-dried tomato pesto adds a rich taste. Garlic pesto is another fun option. Each type can change the whole dish.
Dietary Adjustments
If you need a gluten-free meal, choose gluten-free pasta. Many brands offer good options that taste great. For a vegan dish, skip the chicken and cheese. Use nutritional yeast to give a cheesy flavor. You can replace Parmesan with a vegan alternative. Almond or cashew cheese works well and adds creaminess. These swaps keep your meal delicious and friendly for everyone.
Storage Info
Refrigeration Tips
To store your Pesto Chicken Pasta, let it cool first. Place the leftovers in an airtight container. This helps keep the pasta fresh. Use a glass or plastic container with a tight lid. Make sure to eat the leftovers within three to four days for the best taste.
Freezing Instructions
You can freeze Pesto Chicken Pasta for later. First, let it cool completely. Then, place it in a freezer-safe container or a resealable bag. Remove as much air as possible to prevent freezer burn. When you’re ready to eat, thaw it in the fridge overnight. Reheat in a skillet over low heat. Add a splash of water to help the sauce mix well.
Shelf Life
In the fridge, Pesto Chicken Pasta lasts about three to four days. Look for signs of spoilage, such as a sour smell or mold. If it looks or smells off, it’s best to toss it. Enjoy your meal with confidence by following these storage tips.
FAQs
Common Questions
Can I make this dish ahead of time?
Yes, you can make Pesto Chicken Pasta ahead of time. Cook the pasta and chicken, then mix them with pesto and tomatoes. Store it in the fridge for up to three days. When you’re ready to eat, just reheat it on the stove.
How do I reheat Pesto Chicken Pasta without drying it out?
To reheat, add a splash of water or olive oil to the pan. Heat it over low heat. Stir often to keep it moist. This will help the pasta stay creamy and tasty.
Nutritional Information
How many calories are in Pesto Chicken Pasta?
A serving of Pesto Chicken Pasta has around 450-500 calories. This can vary based on the amount of pesto and cheese you use.
What are the protein and carb counts?
This dish has about 30 grams of protein and 60 grams of carbs per serving. The chicken provides good protein, while the pasta gives you energy.
Cooking Techniques
Can I use a different cooking method for the chicken?
Yes! You can bake, grill, or even air-fry the chicken. Baking it at 400°F for 20-25 minutes works well. Just make sure it reaches an internal temp of 165°F.
Is there a method to make it in a one-pot style?
Absolutely! You can cook the chicken and pasta together in one pot. Just add the pasta to the pot with enough broth or water. Cook until the pasta is done, then stir in the pesto and tomatoes. This saves time and cuts down on dishes!
In this post, we explored how to make a tasty Pesto Chicken Pasta. We discussed the key ingredients, from pasta to chicken and fresh basil. You learned step-by-step instructions, from cooking the pasta to mixing in the pesto and chicken. I shared tips to perfect your dish, suggested variations to keep it exciting, and provided storage info to help you enjoy leftovers. Remember, cooking is all about creativity. Use the tips and changes shared here to make this dish your own. Enjoy every delicious bite!

