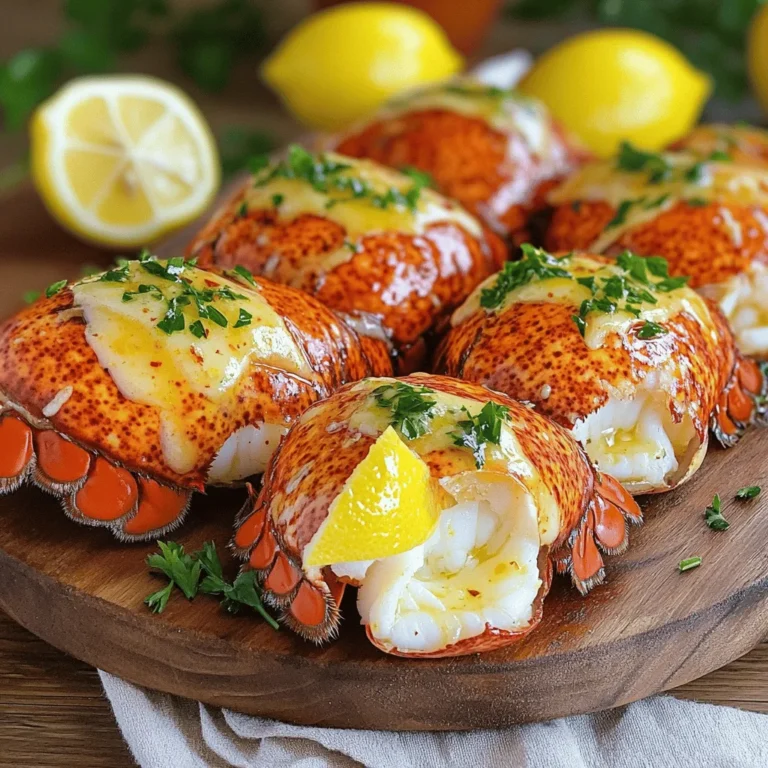
If you love seafood, you’ve got to try Garlic Butter Lobster Tails. They are a tasty treat that can impress anyone. In this article, I’ll guide you through choosing the best ingredients, easy cooking steps, and expert tips to maximize flavor. Plus, you’ll learn how to store any leftovers! Dive into this flavorful delight and make your next meal unforgettable. Your taste buds will thank you!
Ingredients
Main Ingredients for Garlic Butter Lobster Tails
For garlic butter lobster tails, you will need:
– 4 lobster tails
– 6 tablespoons unsalted butter
– 4 cloves garlic, minced
– 1 tablespoon fresh lemon juice
– 1 teaspoon smoked paprika
– 1 teaspoon fresh parsley, chopped (plus more for garnish)
– Salt and pepper to taste
– Lemon wedges, for serving
These ingredients create a rich flavor that highlights the lobster’s natural sweetness. The combination of butter and garlic adds a savory touch. The lemon juice brightens the dish and the smoked paprika gives a hint of warmth.
Optional Flavor Enhancers
You can add more flavor with these optional items:
– Red pepper flakes for heat
– Fresh herbs like thyme or tarragon
– A splash of white wine for depth
These extras can take your dish from good to great. If you like heat, red pepper flakes work well. Fresh herbs can add a garden-fresh taste. A splash of wine can enhance the overall profile.
Cooking Tools Needed
To make this dish, gather these tools:
– Kitchen scissors
– Small saucepan
– Baking sheet
– Parchment paper
– Brush for basting
Having the right tools makes cooking easier. Kitchen scissors help you cut the lobster tails safely. A baking sheet with parchment paper helps with cleanup. A brush is great for basting the tails with garlic butter.
Step-by-Step Instructions
Prepping the Lobster Tails
Start by preheating your oven to 375°F (190°C). Next, grab your kitchen scissors. Cut down the top of each lobster tail shell. Stop just before the tail fin. Gently pull apart the shell to reveal the lobster meat. For a nice touch, pull the meat slightly out of the shell.
Making the Garlic Butter Sauce
In a small saucepan, melt 6 tablespoons of unsalted butter over medium heat. Once melted, add 4 cloves of minced garlic. Stir and cook for about one minute. You want the garlic fragrant but not brown. Next, mix in 1 tablespoon of fresh lemon juice, 1 teaspoon of smoked paprika, salt, and pepper. Blend it well to create a rich garlic butter sauce.
Cooking the Lobster Tails
Now, brush the garlic butter sauce generously over the lobster meat. Save some sauce for basting while cooking. Place the lobster tails on a baking sheet lined with parchment paper. Bake them in your preheated oven for 12-15 minutes. Halfway through, baste with the reserved garlic butter. The lobster is ready when the meat turns opaque and is fully cooked. Once finished, take them out and sprinkle with fresh parsley. Serve with lemon wedges for a bright flavor.
Tips & Tricks
How to Perfectly Cook Lobster Tails
To cook lobster tails just right, follow these steps. First, always use fresh lobster tails. Freshness affects taste and texture. For even cooking, thaw frozen lobster tails in the fridge overnight. When cutting the shell, use sharp kitchen scissors. Cut down the center, stopping before the tail fin. This helps the meat cook evenly. Bake the tails at 375°F (190°C) for 12 to 15 minutes. Check for opaque meat to know they are done. Basting with garlic butter halfway through adds flavor and moisture.
Suggestions for Maximum Flavor with Garlic Butter
Flavor is key to great lobster tails. Use quality unsalted butter for rich taste. Fresh garlic brings a bold kick. Mince garlic finely, so it distributes well in the butter. Adding smoked paprika gives a subtle smokiness. Fresh lemon juice brightens the dish. Don’t skip salt and pepper; they enhance the flavor. For a touch of color, sprinkle fresh parsley on top before serving. This mix of flavors makes each bite a delight.
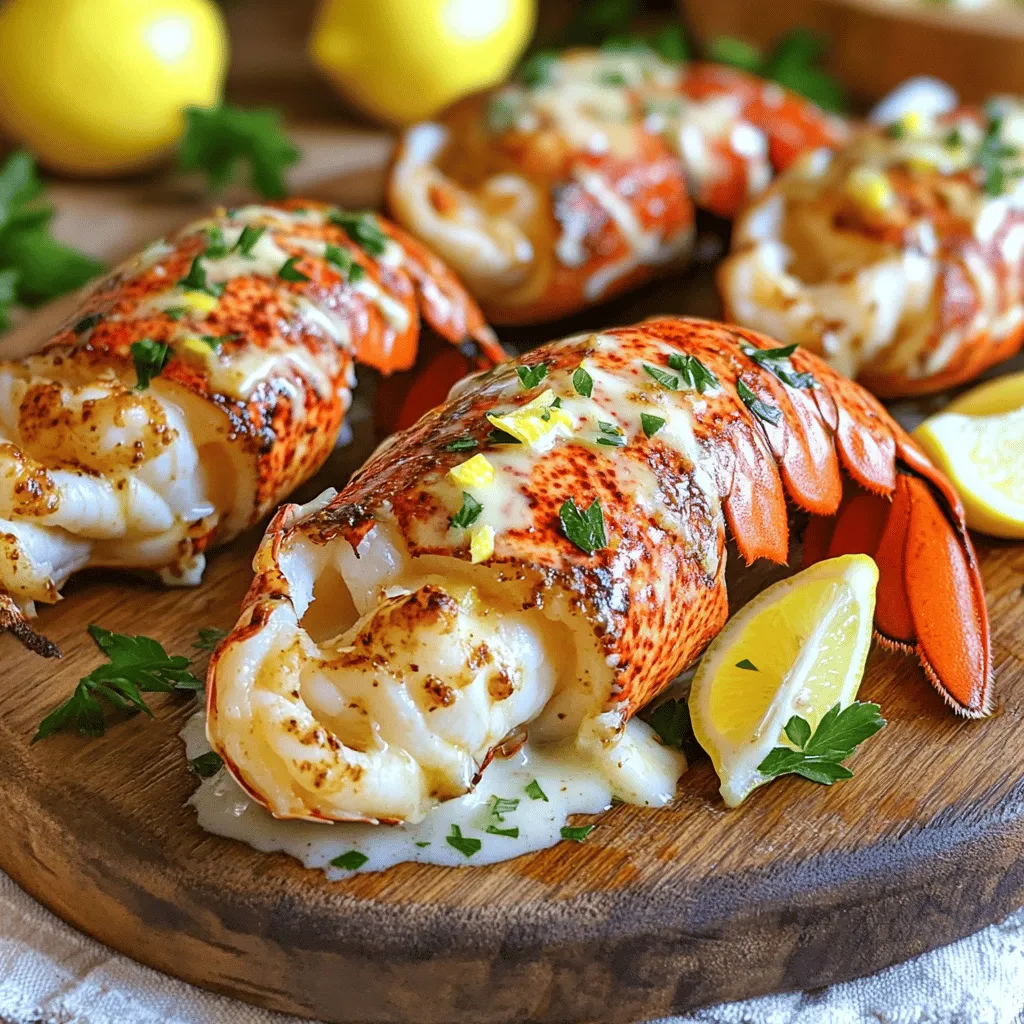
Serving and Presentation Ideas
Presentation matters for a dish like this. Place lobster tails on a large platter. Drizzle the remaining garlic butter over the tails for a glossy look. Garnish with extra parsley for color. Serve lemon wedges on the side, adding a fresh zing. You can also add a side of steamed veggies or a light salad. This balance creates a stunning meal.
Variations
Different Seasoning Options
You can change the flavor of garlic butter lobster tails with simple spices. Try adding a pinch of cayenne pepper for heat. A dash of lemon zest gives a bright touch. You can also use fresh herbs like dill or tarragon for unique tastes. If you love a bit of sweetness, add a hint of brown sugar to the butter mix. Mixing flavors keeps each meal exciting.
Alternative Cooking Methods (Grilled, Broiled, etc.)
You don’t have to bake your lobster tails. Grilling adds a smoky flavor. Just brush the garlic butter on the meat before placing it on the grill. Cook for about 6-8 minutes on medium heat. Broiling is another great option. Place the tails under the broiler for 10 minutes. Both methods give a nice char and enhance the taste.
Pairing Suggestions with Side Dishes
Garlic butter lobster tails pair well with many sides. A fresh green salad balances the rich flavors. You can also serve them with garlic bread to soak up the extra sauce. For a hearty option, try creamy mashed potatoes. Roasted vegetables add color and crunch to your meal. Each side enhances the lobster, making your dinner a true feast.
Storage Info
How to Store Leftover Garlic Butter Lobster Tails
To keep your garlic butter lobster tails fresh, start by letting them cool. Place the tails in an airtight container. Make sure to cover them tightly. You can store them in the fridge for up to two days. If you want to enjoy them later, freezing is a great option.
Reheating Instructions
When you’re ready to eat the leftovers, reheating is simple. Preheat your oven to 350°F (175°C). Place the lobster tails on a baking sheet. Brush them lightly with some garlic butter. Cover the tails with foil to keep them moist. Heat for about 10 minutes or until warmed through. This keeps the meat tender and juicy.
Freezing Guidelines
If you plan to freeze the lobster tails, wrap each one tightly in plastic wrap. Then place them in a freezer bag or container. You can freeze them for up to three months. To thaw, move them to the fridge overnight. This way, they thaw slowly and keep their flavor. For best results, avoid refreezing after they’ve been thawed.
FAQs
What are the best lobster tails to use for this recipe?
For this recipe, I recommend using cold-water lobster tails. They are sweeter and more tender than those from warmer waters. Look for tails that are firm and have a vibrant color. Fresh tails are best, but frozen ones can work too. Just be sure to thaw them properly before cooking. The size matters, too. Aim for tails that weigh around 6 to 8 ounces each. They offer a good balance of meat and flavor, perfect for our garlic butter mix.
Can I use garlic powder instead of fresh garlic?
You can use garlic powder, but fresh garlic gives the best taste. Fresh garlic adds a strong and vibrant flavor that powder can’t match. If you choose to use garlic powder, start with about half a teaspoon for each clove. Adjust based on your taste. Remember, the cooking time is shorter with powder, so watch your sauce closely to prevent burning.
What to serve with garlic butter lobster tails?
Garlic butter lobster tails pair well with many sides. Here are some great options:
– Garlic bread: It soaks up the garlic butter.
– Steamed vegetables: Broccoli or asparagus add color and nutrients.
– Pasta: A light lemon or garlic pasta complements the dish.
– Rice: A fluffy rice pilaf is a great base for the lobster.
These sides enhance the meal and keep it balanced.
This article covered the essentials for making garlic butter lobster tails. We explored the main ingredients and optional flavor enhancers, along with step-by-step cooking instructions. You learned tips for perfect cooking and ideas for serving.
In closing, enjoy experimenting with different seasonings and cooking methods. With these guidelines, you’ll create a dish that impresses at any gathering. Happy cooking!

